


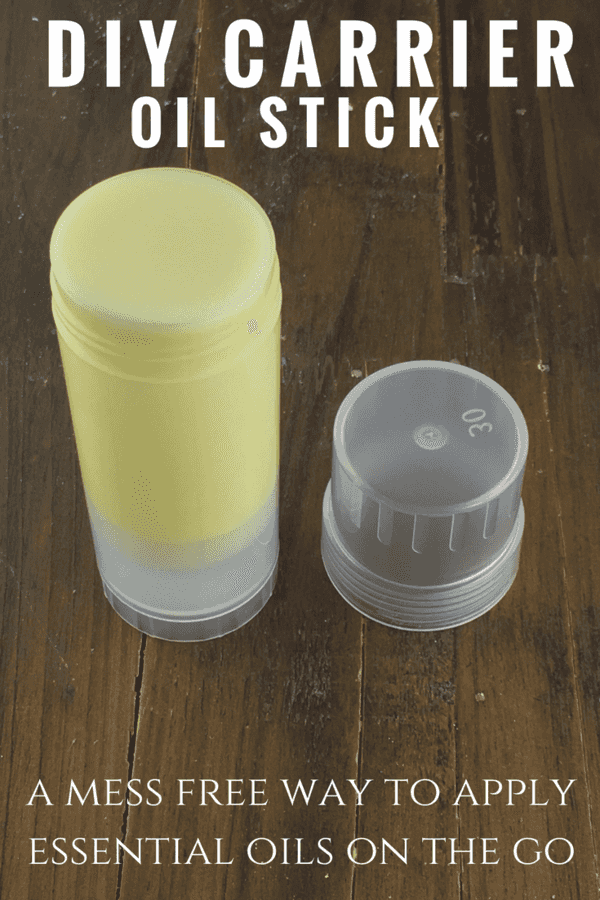
Whip up this DIY Carrier Oil Stick to help you apply essential oils on your kids, yourself or even on the go – it fits perfectly in a purse or diaper bag!
If you use essential oils regularly, then chances are you have carrier oils – you might have sweet almond, fractionated coconut oil, jojoba, or even avocado oil.
Each of those carrier oils has one thing in common – they allow you to apply essential oils comfortably on any given part of your body. Using your essential oils with a carrier does not limit the effects of the essential oil. It just prevents waste from excessive application.
And if you have kids, you need to use a carrier oil when applying essential oils so it makes things easy.
I love any and all carrier oils. However… I don’t particularly like fumbling around with them in the middle of the night as I try to help the kids with tummy aches. Or as I put oils on my own feet to go to bed.
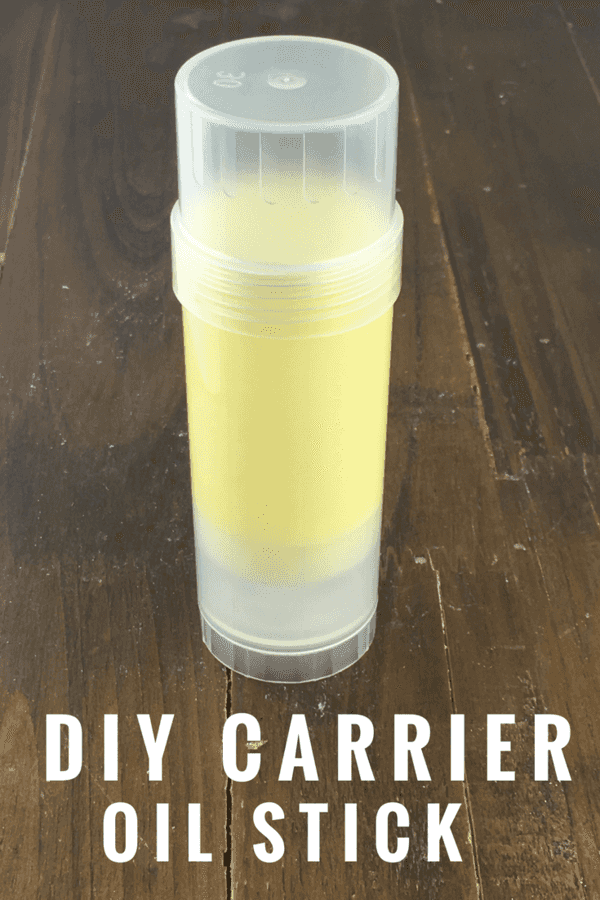
Meet the carrier oil stick.
DIY Carrier Oil Stick
A carrier oil stick is a great way to apply oils mess free. Swipe the stick on your body and then apply your oils, and you won’t be left with dirty oily hands to wash… not to mention your kids can use oils easily too.
Most carrier sticks are 2 oz – we made this one for my purse, and while it is a little big, it can easily fit in the diaper bag without getting buried too deep. If you aren’t up for making one that’s 2 oz, you can do lip balm size carrier sticks that are smaller – lighter and can be thrown in a purse.
Plus… the ingredients are body friendly and very simple, you can really feel good about whipping these up and using on your kids. The stick contains:
Beeswax: Helps encourage new cell growth while also protecting the skin, locking moisture in.
Coconut Oil: Fights off infections and supports healthy skin while also serving as a deep moisturizer.
Kokum Butter: Moisturizes, protects, and soothes skin.
If you don’t have Kokum butter you can easily sub shea… or just forego it altogether and do 2 parts beeswax to 1 part coconut oil and allow it to harden in a twist up stick or old deodorant container.
We use the same twist up sticks to make Diaper Rash Sticks and they are perfect for the diaper bag, for trips or especially when Dad changes diapers.. and this carrier stick is so much similar – almost the same ingredients.
Ingredients – makes one 2 oz twist stick
- 2 Tbsp organic beeswax (pellets are SO much easier)
- 3 Tbsp coconut oil
- 1 Tbsp kokum butter (or, use shea butter, sweet almond oil)
- Twist Tube Container (which you can get at Abundant Health or on Amazon)
Directions
- Put all ingredients in a glass Pyrex and place in the microwave for 20 second bursts until melted.
- Remove from the microwave and pour into twist up stick.
- Push to the back of the counter and allow to harden – the liquid will harden from the bottom up, try not to touch it until it’s completely hardened.
Beeswax can be tricky to clean in the Pyrex cup, so once you have poured all of the melted liquid out, gently wipe out with a napkin. Then toss the napkin and wash the Pyrex cup, as normal.

Use this stick when applying essential oils to yourself, or to your kids – just swipe the stick on the skin, then apply a drop or two of essential oils. Please make sure you follow recommended dilution ratios if you are using essential oils on your children – the best place to apply oils is on the bottom of the feet.
The bottoms of the feet are the least sensitive part of the body – making them the perfect place to try out essential oils. When you are applying essential oils to the bottom of the feet, they are absorbed quickly because the feet has larger pores.
Since the feet are the least sensitive, they are the best place for those hot oils like Oregano, Peppermint, Thieves and Clove.
Carrier sticks are just one of so many DIY items we have done over the years – so much safer than what you can buy in store.
Are you looking for more DIY items? We’ve got you covered!
[…] DIY Carrier Oil Stick: The CentsAble Shoppin […]