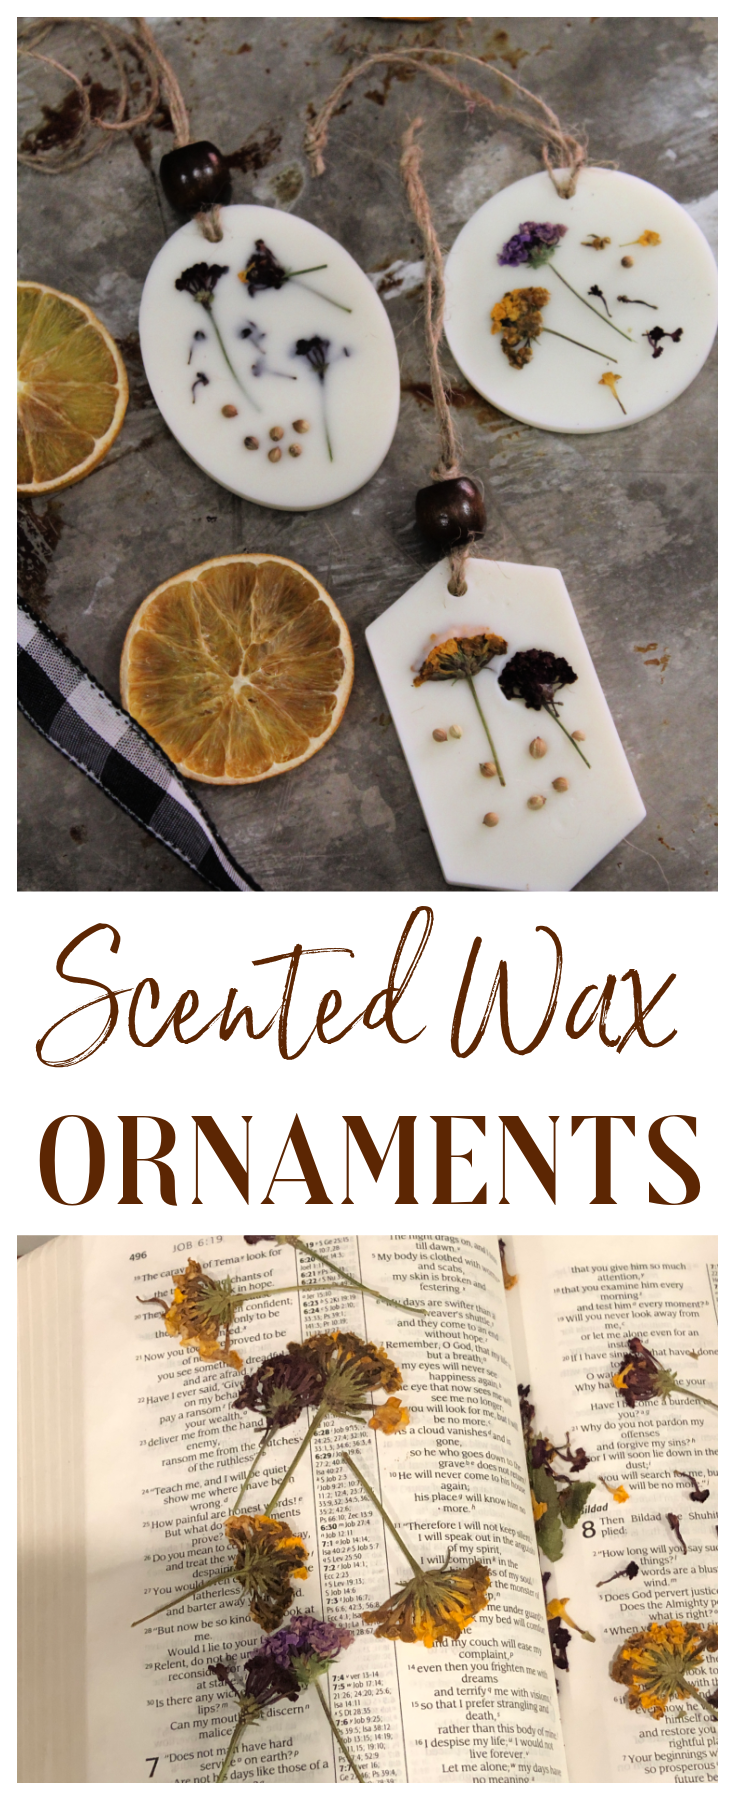


Learn how to make these beautiful Scented Botanical Wax Ornaments – they are an inexpensive way to decorate for the holidays, created with candle wax, botanicals and scent.
Every year I dig myself deeper into the trap of handmade gifts. There’s something about handmade gifts that makes me so elated. I love making things, and it seems like every corner of my house is some type of handmade creation.
This past year, I have been pouring copious amounts of candles – every time a candle is poured, I end up with slightly more wax than the container will hold .
While I try to measure to prevent this conundrum, I still end up with wax. So as not to toss what is left, I pour the wax in a glass and hold it until I have enough to make these beautiful wax ornaments.
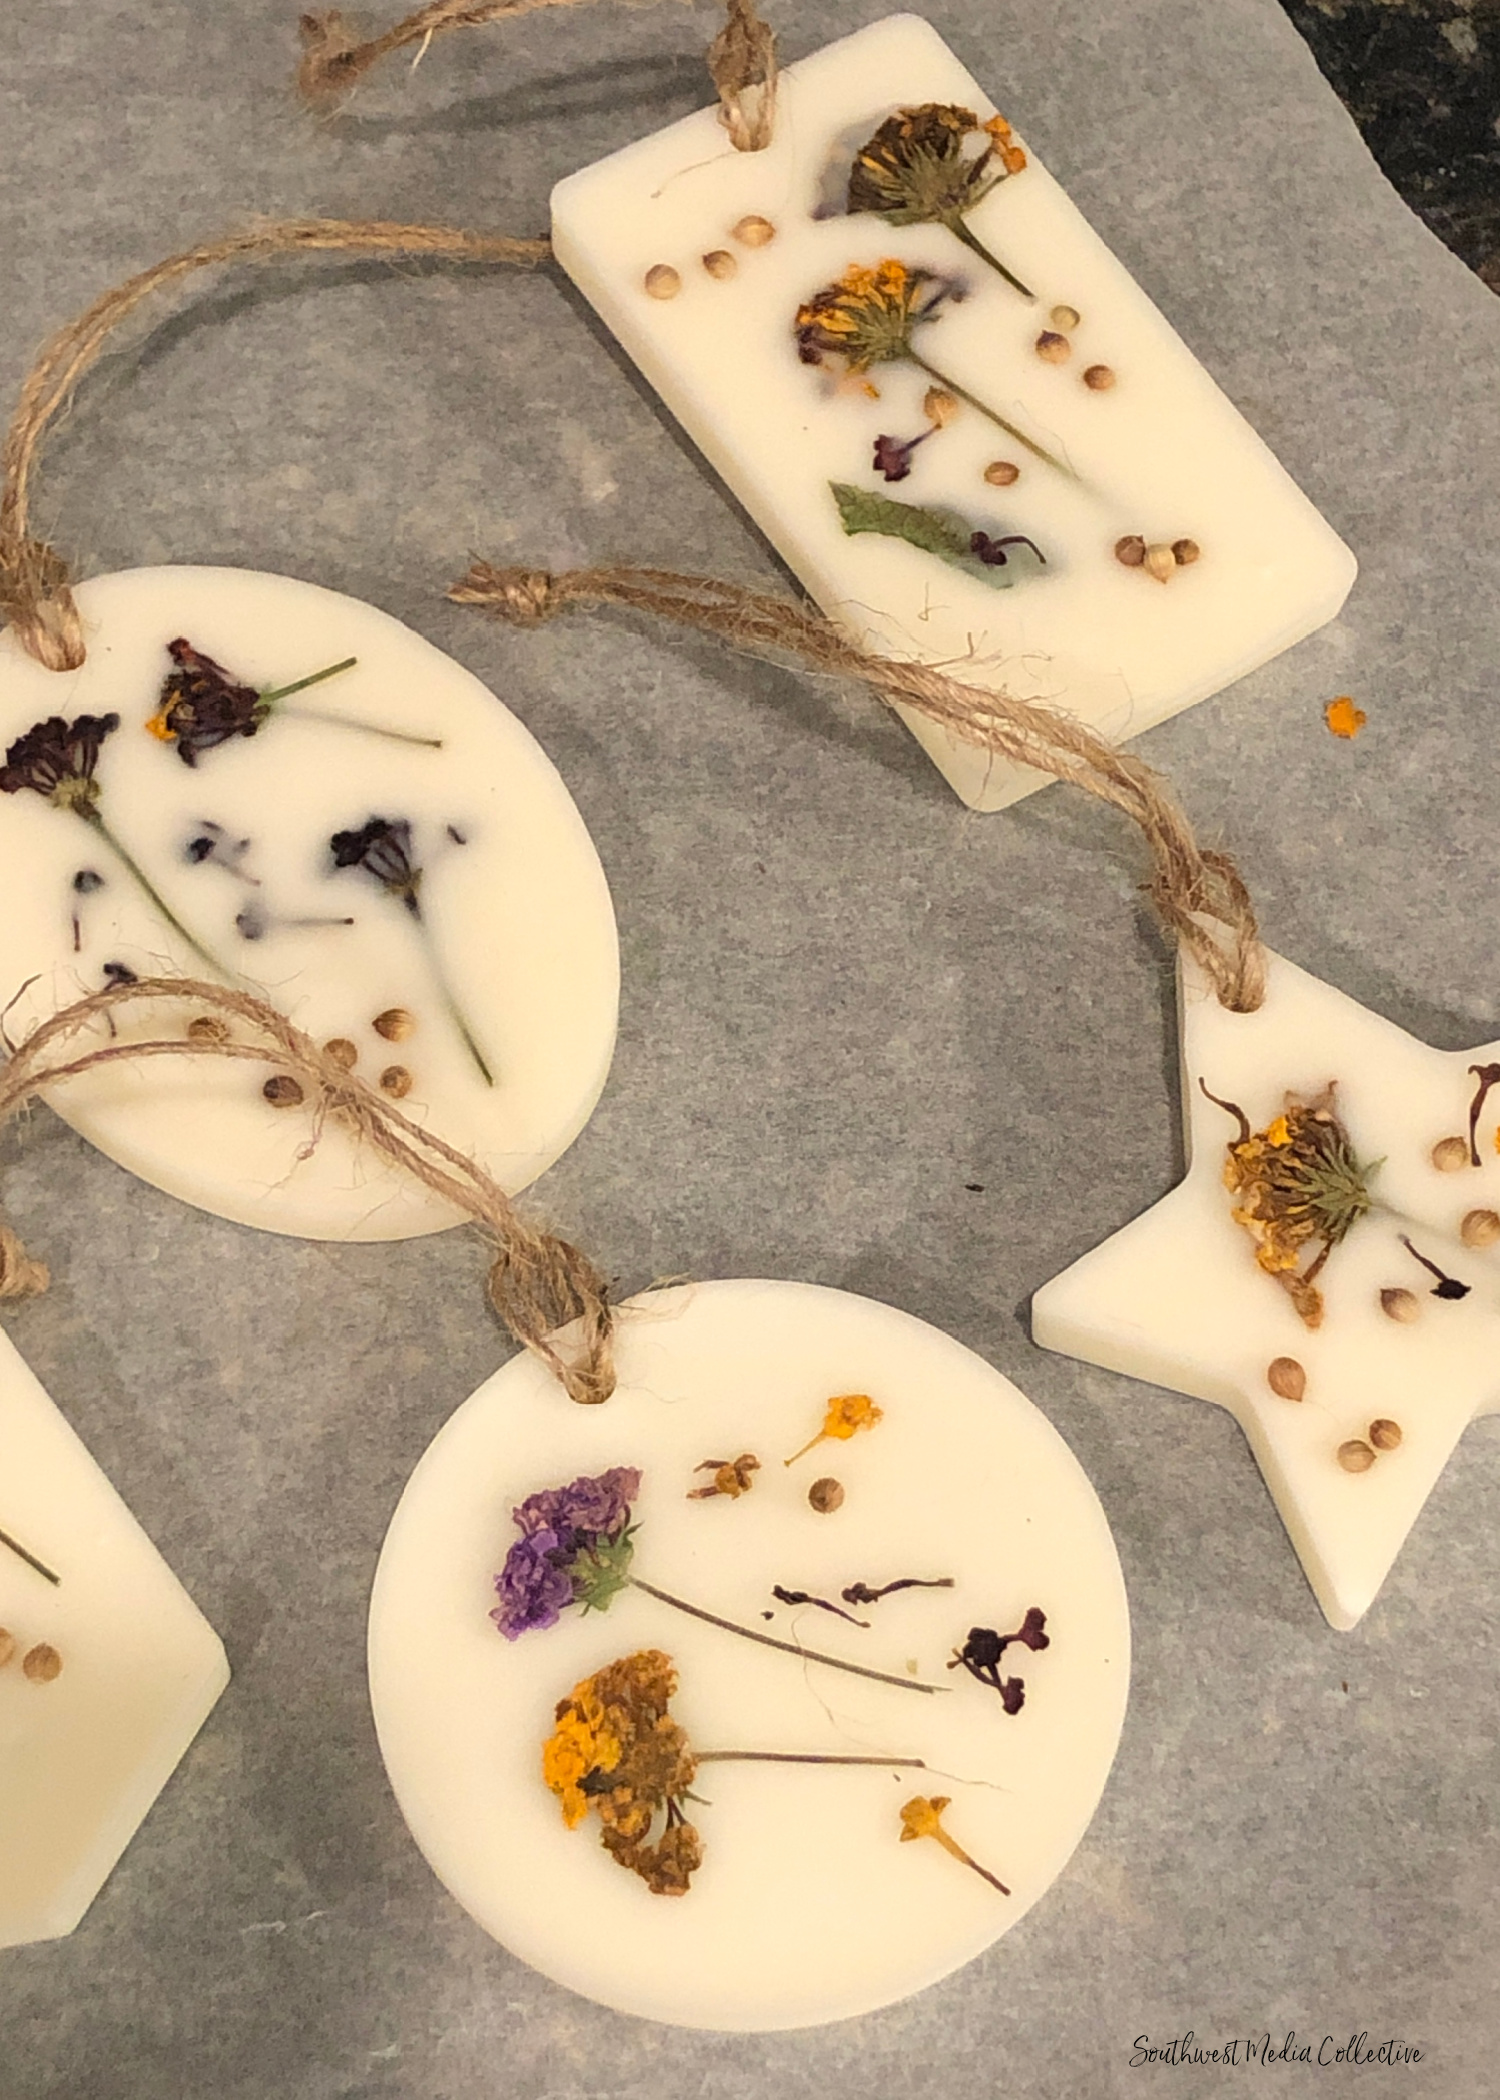
Scented botanical wax ornaments are wax ornaments that are scented with fragrance (or essential oil)and include dried botanicals.
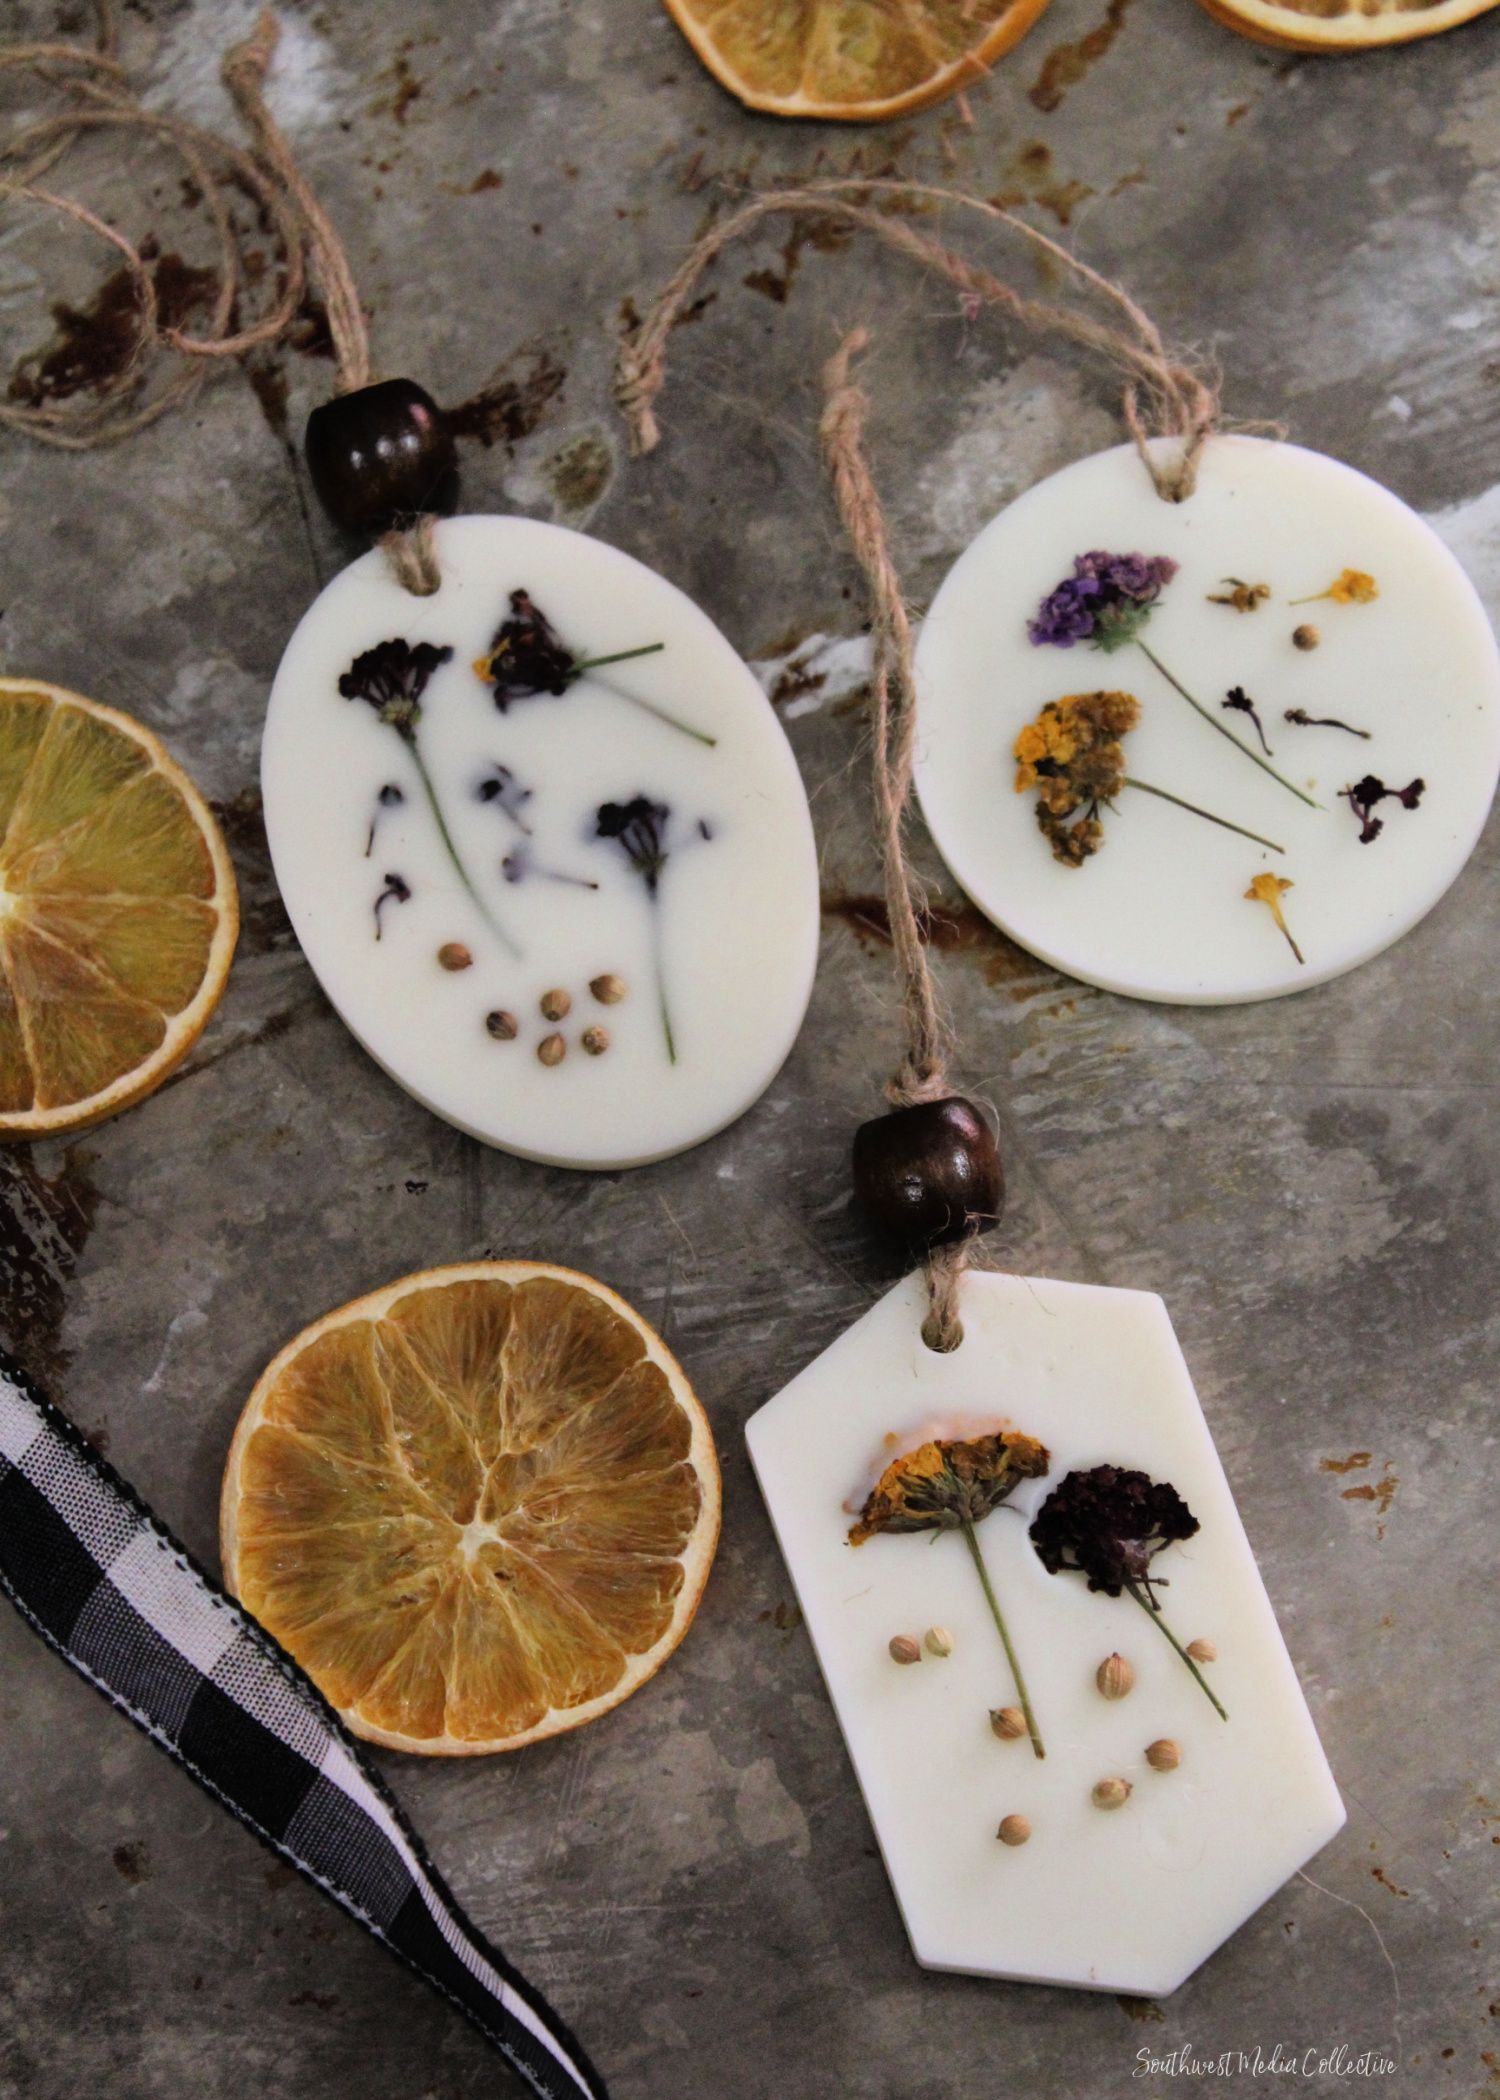
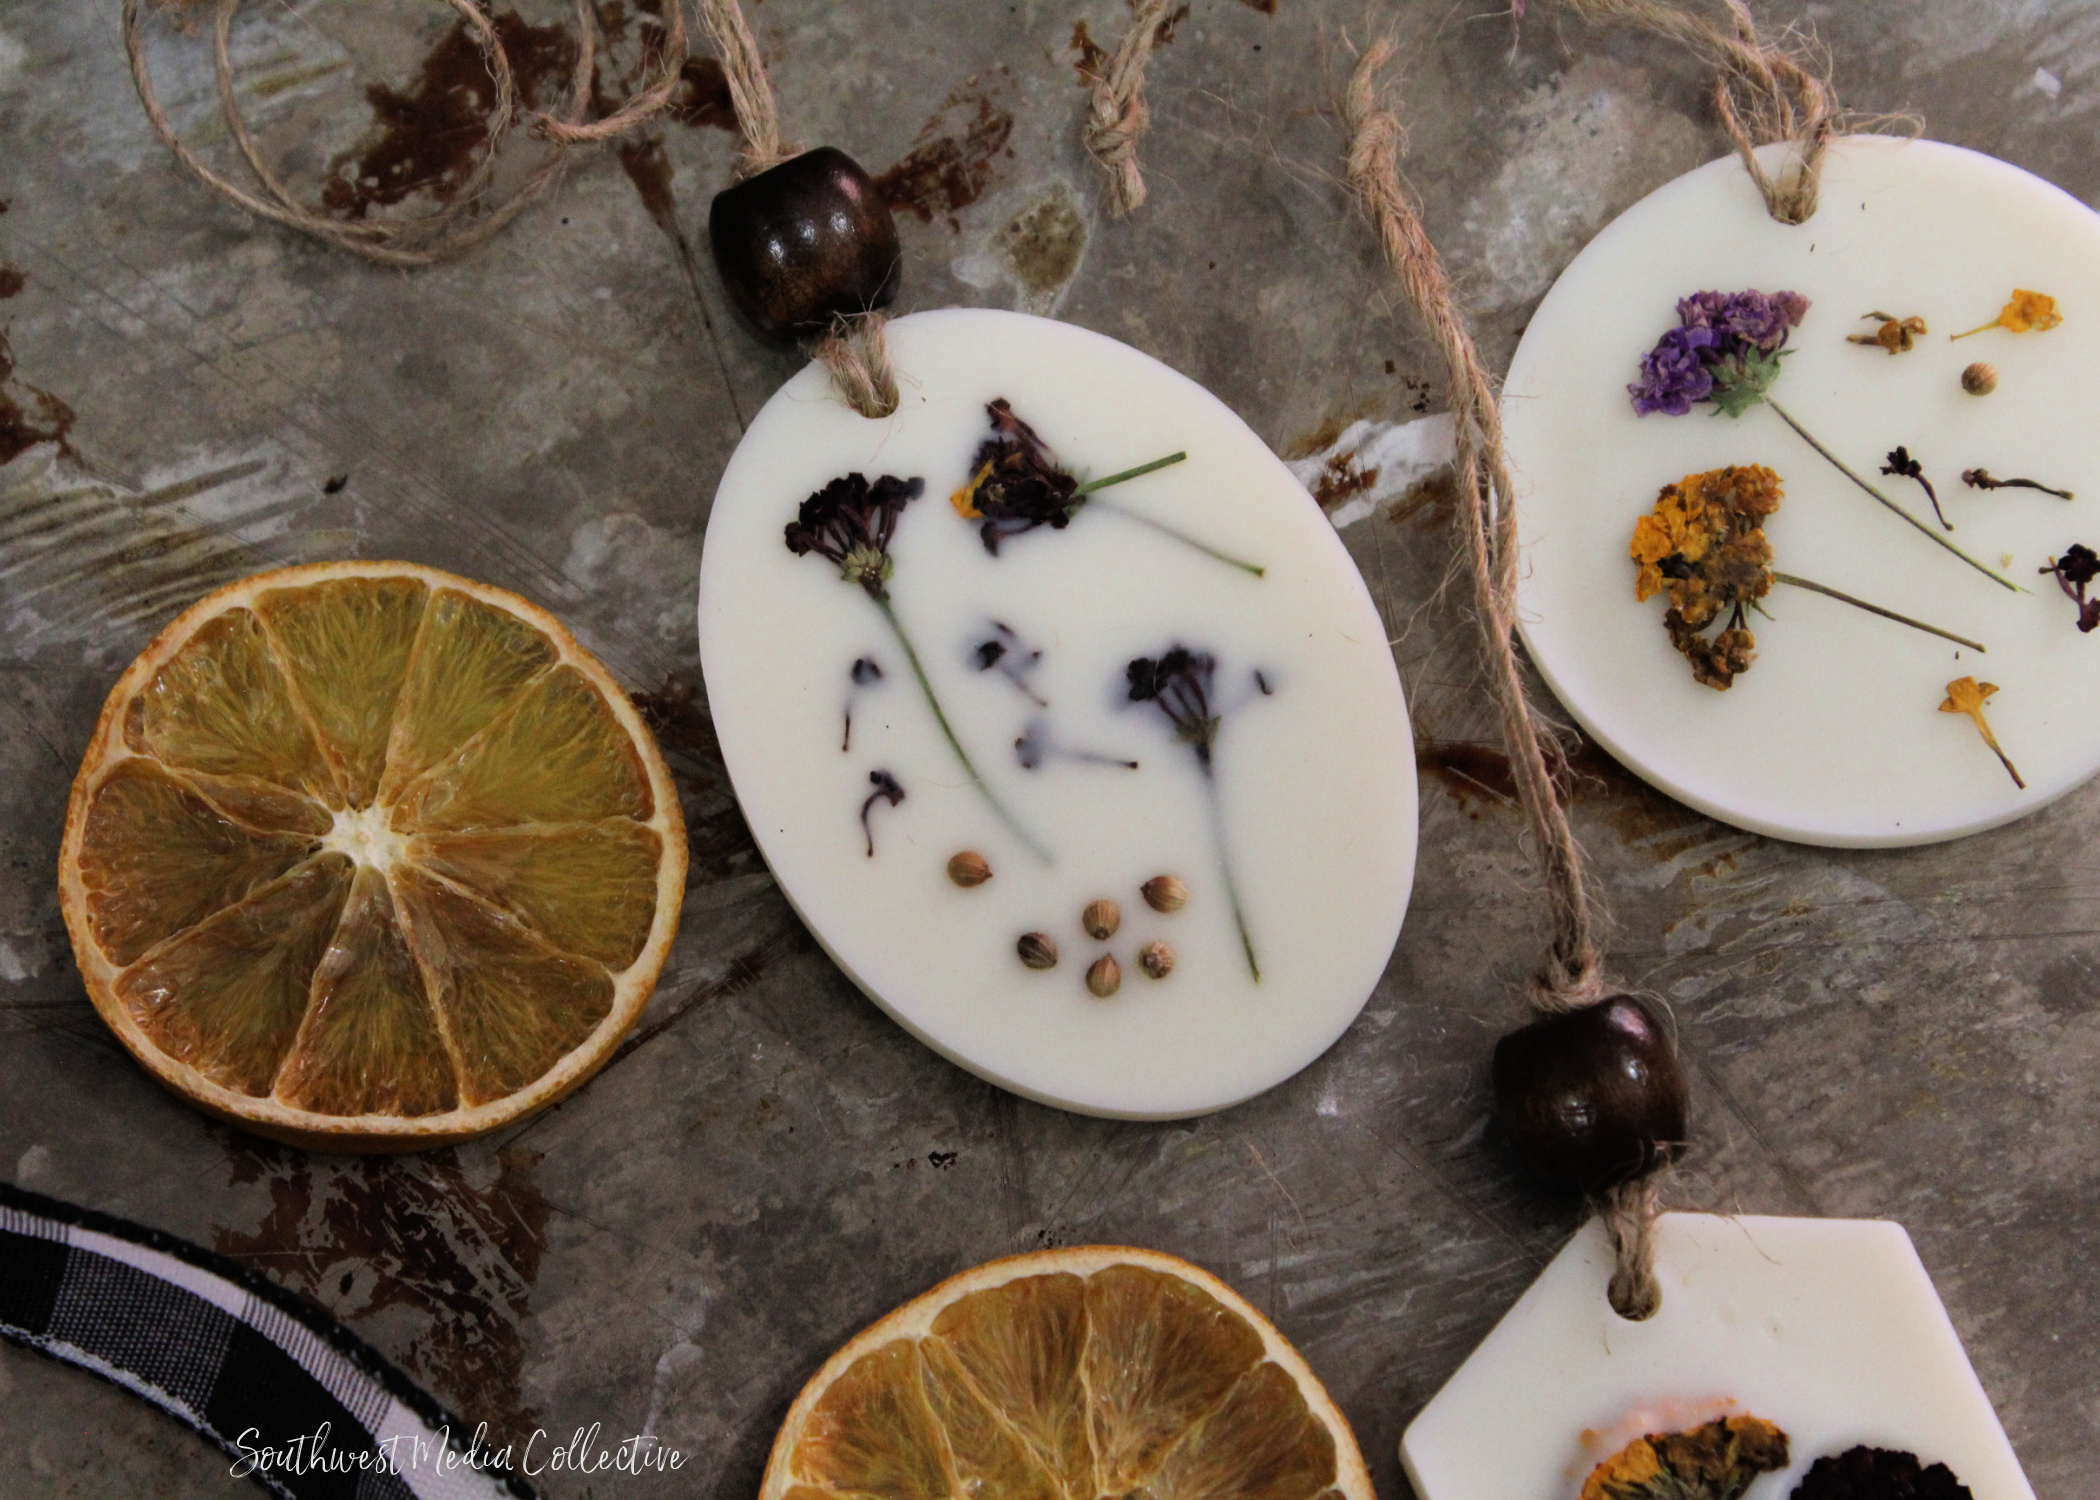
This simple wax mold, available at Hobby Lobby, makes it almost too easy to whip up these scented ornaments yourself at home. Pour, place botanicals, allow to cool, then apply ribbon and voila – you have a beautiful gift that will scent your home with the smell of Christmas.
SCENTED BOTANICAL WAX ORNAMENTS
These ornaments are so easy to make. With just a few ingredients and a little time spent outside, you can have really unique, handmade ornaments to hang on your tree or gift to friends and family.
Botanical Ornaments, Base Supplies:
- Soy Wax Flakes (I love this variety here)
- Jute Twine (also available at the Dollar Tree)
- small Cello Bags
- dried pressed botanicals (see list below) or spices
- essential oil or fragrance (if using fragrance, usually it’s 6-9% per lb usage rate)
Optional:
Be careful not to fill the mold cavities too high, because you have to add the botanicals, too. Once the edges of the mold start to firm up, add your botanicals.
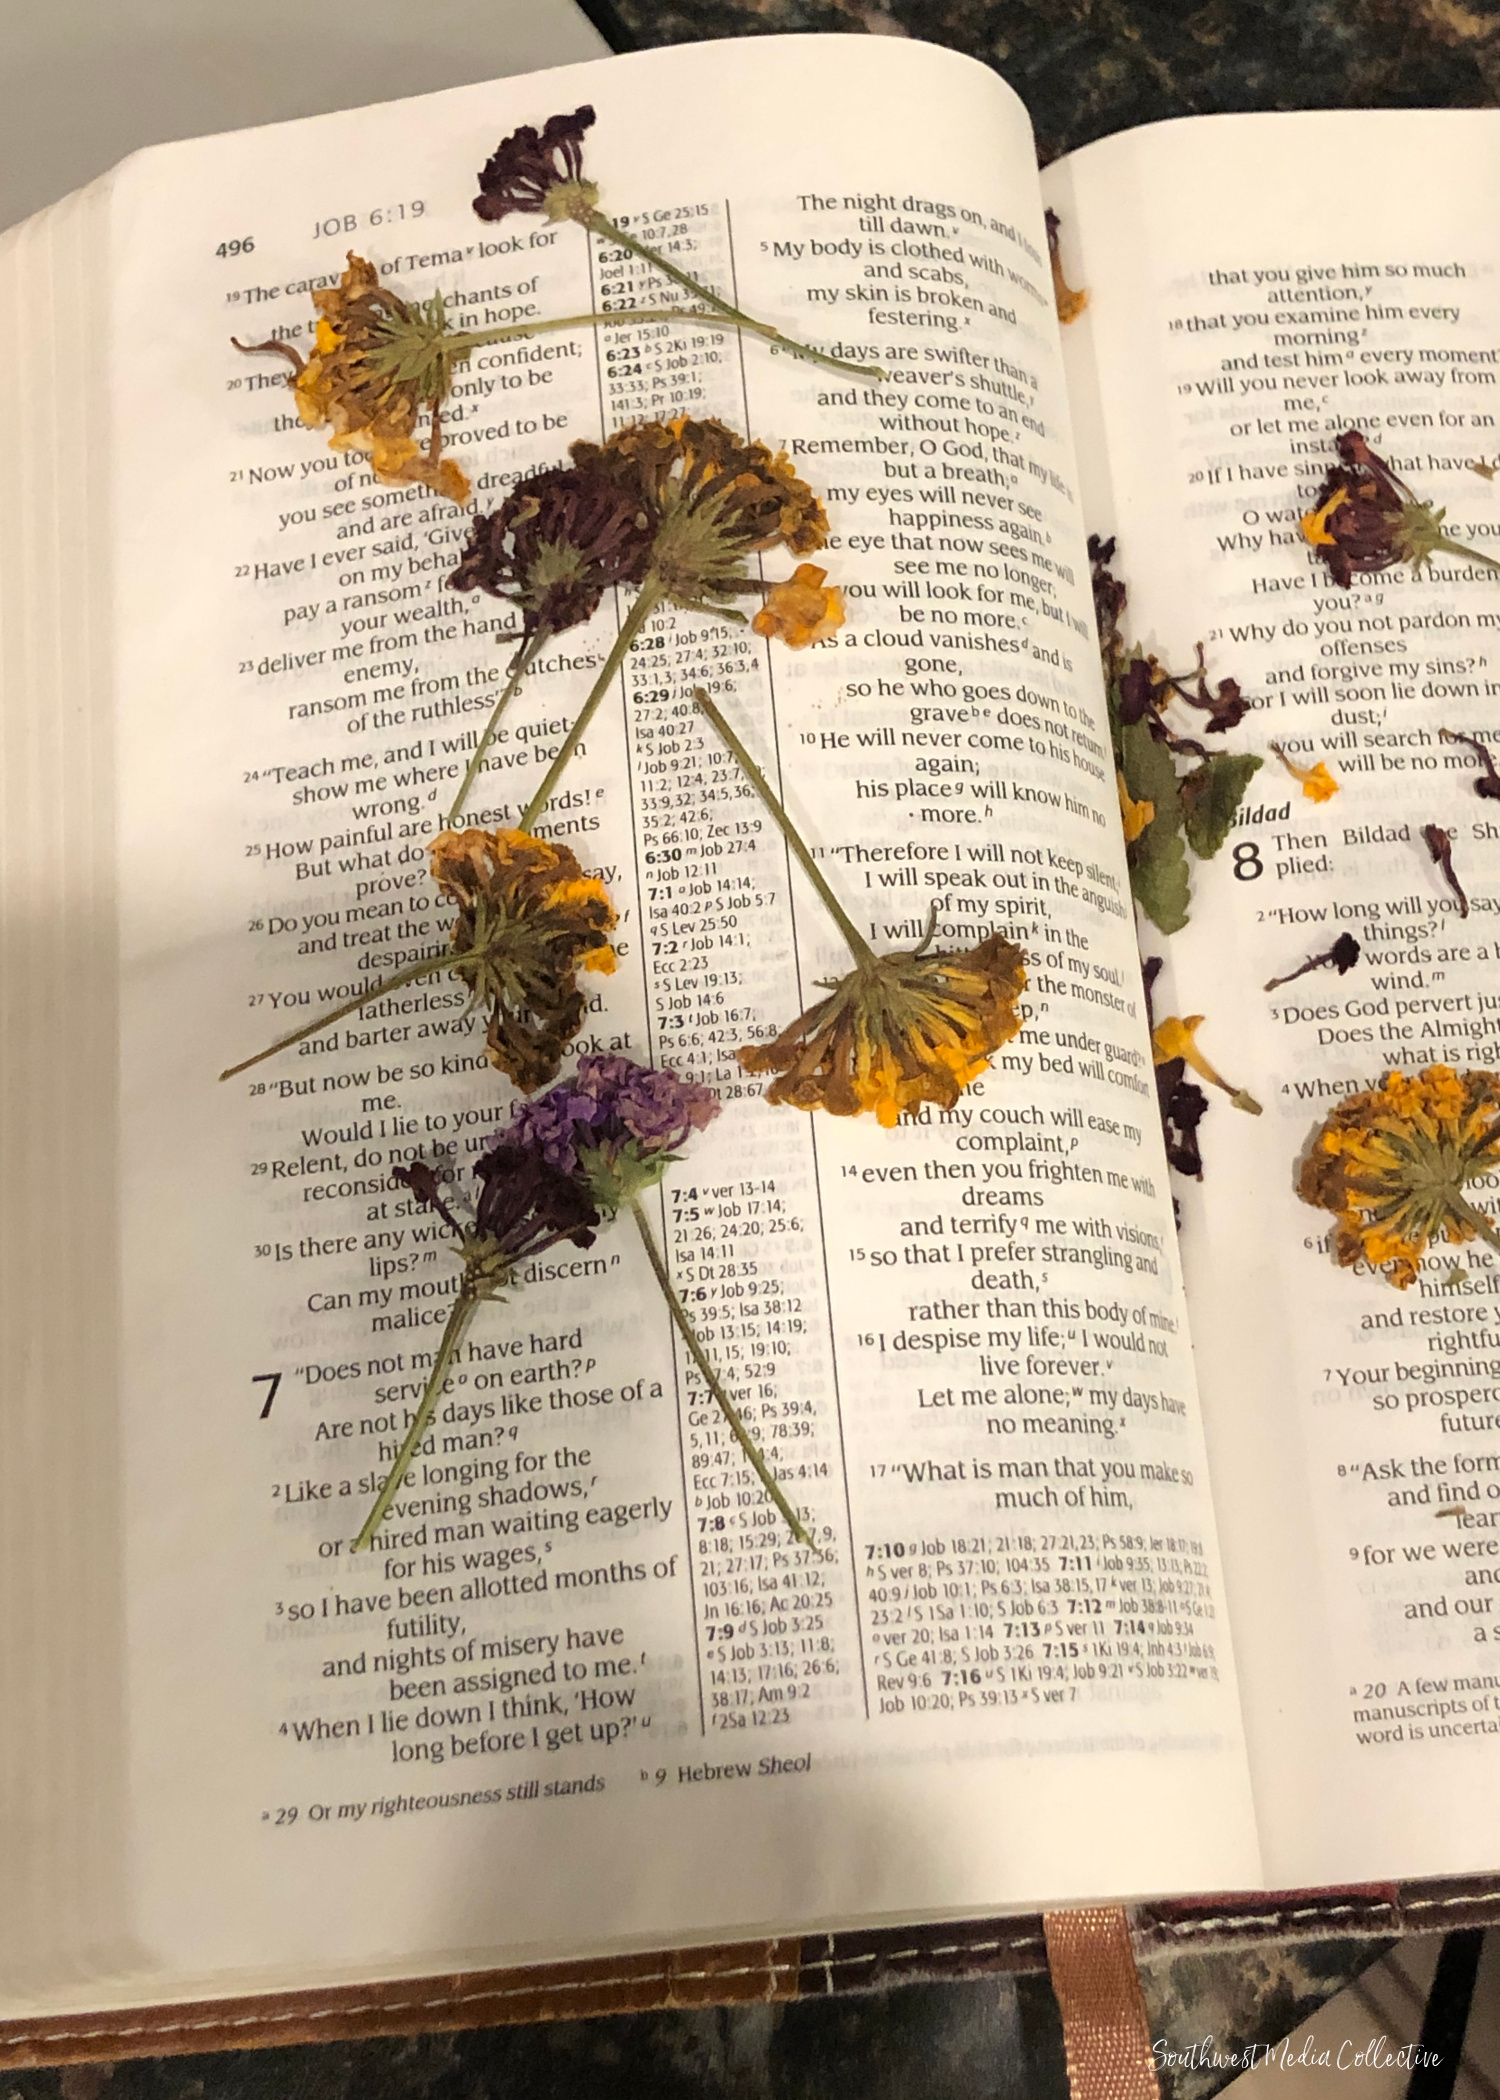
Take a trip outside and pick some flowers, grab some leaves, and place in a sturdy book overnight. In the morning, remove the flowers/leaves and use them in addition to the remaining items below:
- peppercorns
- coriander (whole)
- cinnamon sticks
- pinecones
- dried orange slices
- star anise
Once poured, allow to harden and then pop out of the mold very carefully. Add your twine/string and gift/hang.
Is Beeswax Required?
I prefer to use beeswax in my handmade wax ornaments simply because it gives the candle wax more structure and prevents the ornaments from getting warm in the hot summer months. If you are in a warm climate (say Arizona for example) I would suggesting using beeswax at a ratio of 1 part beeswax to 2 or even 3 parts candle wax.
Heat up the beeswax with the candle wax, add your fragrance/essential oils, then pour into your mold.
If you are in a warm climate, I would not recommend storing your Christmas ornaments in a hot environment.
Get your Kids Involved
This is a great project for kids to help you with. While it isn’t at all appropriate to ask your kids to melt the wax or use the stove, I would ask them to string the ornaments once they harden. They can also hang on the tree.
Go a step further — I ask my girls to go “hunt” flowers outside for us to dry and use as the botanicals in the ornament. Whatever you ask them to do, it’ll help them be more involved in the holidays and is always wonderful time well spent.
Ready to make these ornaments?
I hope you have a wonderful time making memories with your children while working on handmade Christmas ornaments. These wax ornaments are by far my favorite item to ‘gift’ at the holidays!
Botanical Wax Ornaments
Equipment
- 1 measuring cup
- 1 silicone botanical wax mold
- 1 scissors
- 1 tweezers
Ingredients
Botanical Ornaments, Base Supplies:
- 3 oz soy wax flakes
- jute twine
- dried botanicals
- essential oils or fragrance essential oils at 6% per of weight of beeswax + wax flakes
- small cello bags
Optional
- 1-1.5 oz beeswax
Instructions
- Melt the wax in a measuring cup or, in a medium saucepan over the lowest heat setting on your stovetop.
- Once the wax has melted, add your fragrance (at the rate of 6% of your oils) or essential oils and stir well to combine.
- Pour the wax in your silicone mold very carefully, taking care to allow a smidge of space at the top to place your botanicals.
- When the edges start to firm, place your botanicals in each cavity using your tweezers.
- Carefully remove the ornaments from the mold cavities and add your jute twine. If gifting, place in an cello bag. If not gifting, store in a cool, dry place.
Looking for more handmade gifts? Try these!
- Herbal Dryer Sachets
- Easy Sew Lavender Sachets
- Wristlet Keychain DIY
- Zipper Pouch Tutorial
- Coin Purse Keychain DIY