


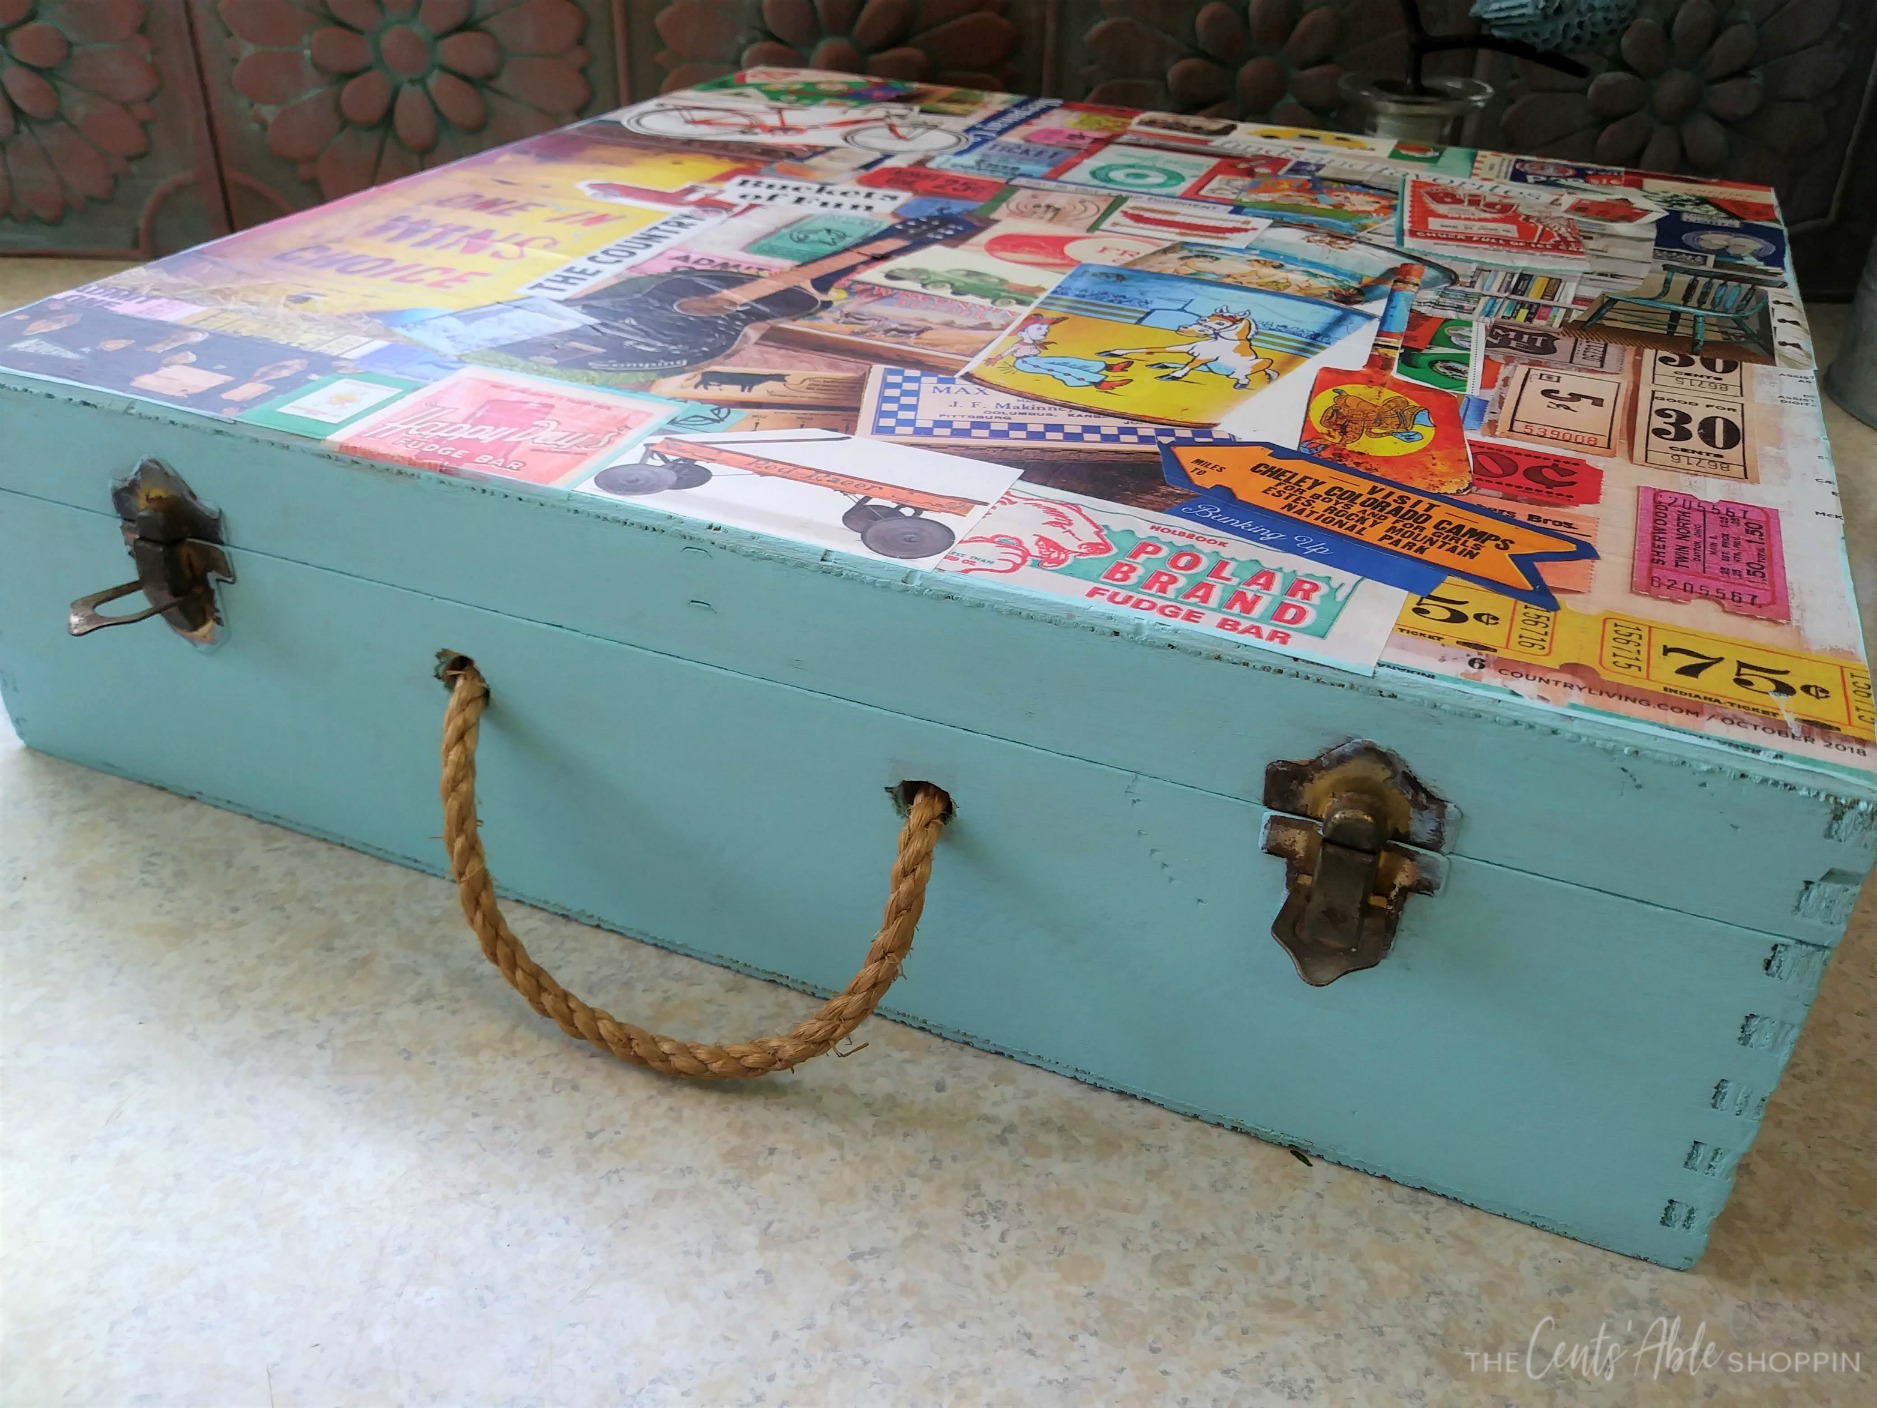
This decoupage wood memory box combines your favorite inspirational art to create a one-of-a-kind keepsake to store vacation memories or momentos.
I love making fun, artistic projects out of old items and upcycling them from something blah into something cool. Decoupage is one really easy way to do just that. If you have a favorite magazine or two that you regularly purchase or subscribe to, this is a perfect way to start thinking about that next project and planning for it.
Finding Inspiration
When I am looking through a magazine, I either pull out the pages then or set it aside for projects I know I can do later. Country Living is one that is full of eye candy, I just LOVE it.
I will begin to accumulate pages that are either themed by color or an idea. Then I use file folders or large ziploc bags to sort them into until I am ready to do the project.
In some cases, I don’t have quite enough, so I’ll pull out a few more magazines.

Not Sure What to Save?
If you’re not sure what to save, I would start by saving out patterns or things that strike you in a favorite color. Then, once you get used to that idea as a base to start with for the project, you’ll start to see more things that tie in together.
Cutting out larger letters in fonts you like, or words that have meaning to the project is a great way to work in interest in the piece too.
Finding the Right Container
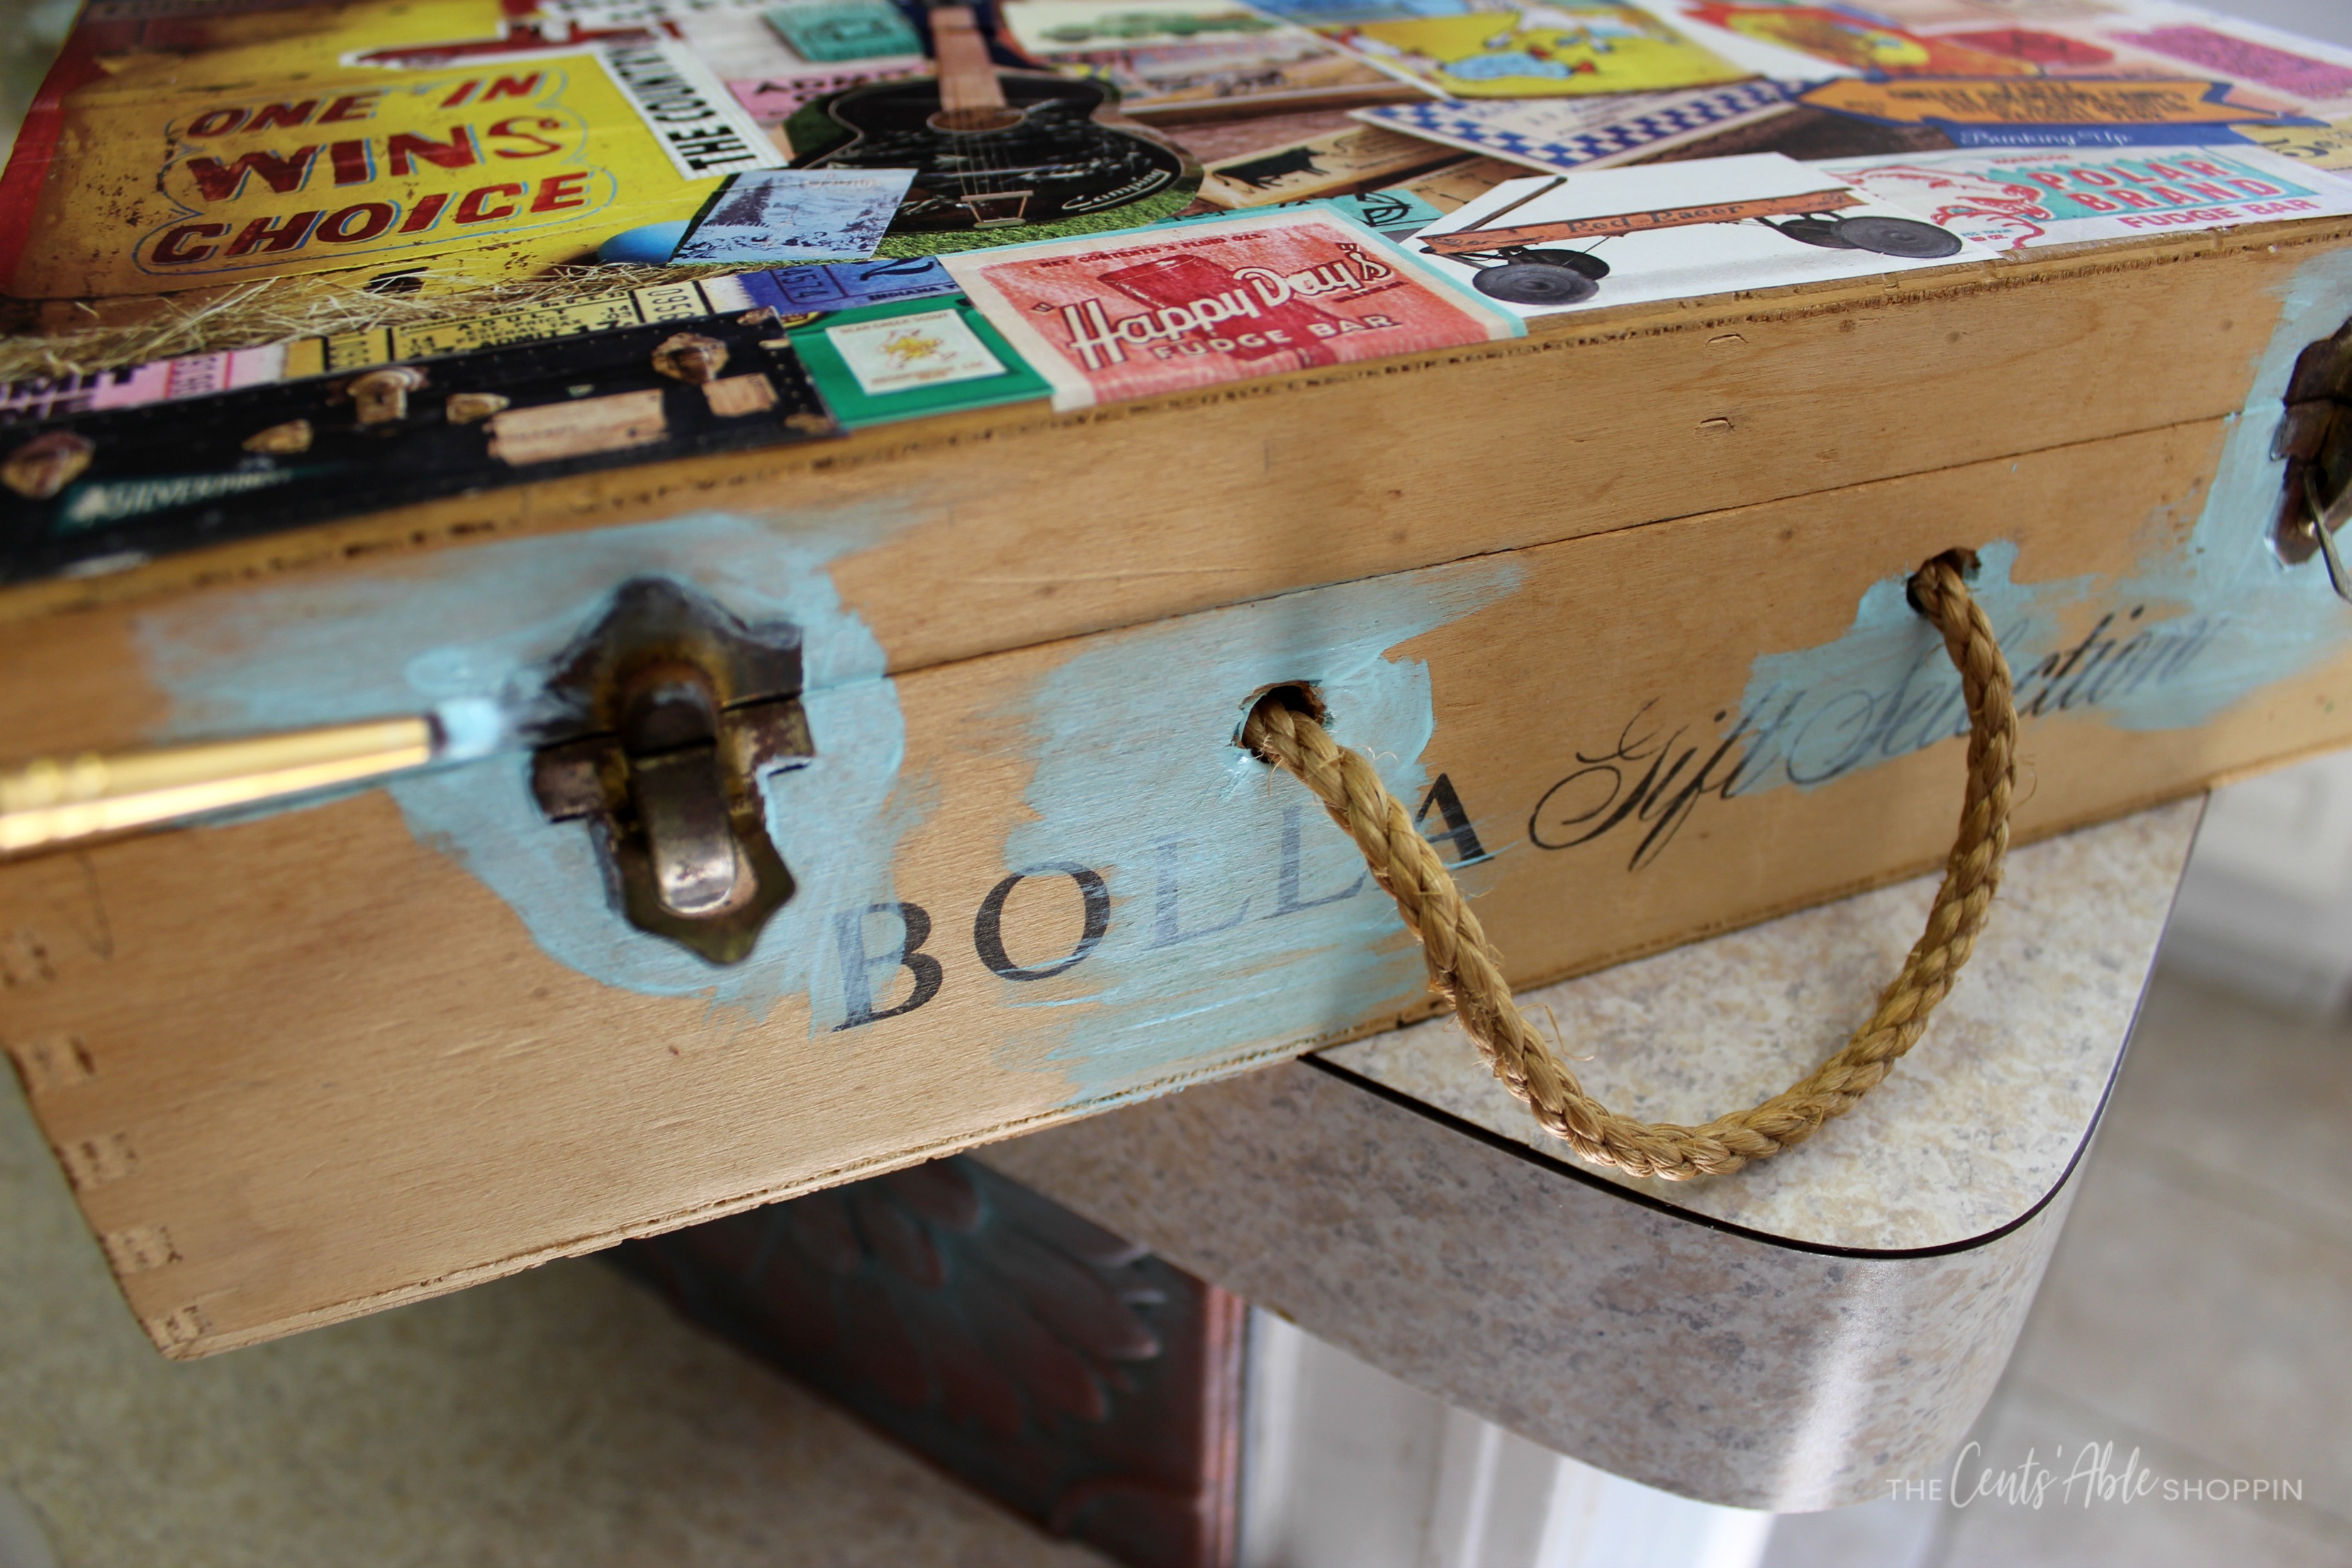
I love finding old wood boxes that still have life in them, but maybe don’t look so good inside or out. This particular box was a wine box that a family member had been using for craft items. It was beat up and the brand on it was a little too much for me, so I knew I wanted to cover it up.
It really made the perfect canvas for this paper art. Plus, it serves as the perfect decoupage wood memory box for old vacation photos and keepsakes we have at home.
You can also find fun boxes at thrift stores – especially if you go on a sale day. Sometimes even craft stores carry lots of cool wood items too.
So find yourself a good wood base piece, start collecting paper art you like and create something awesome.
DIY Decoupage Wood Memory Box
What you’ll need:
- Plenty of paper pieces in your choice of theme and colors
- Scissors
- Elmer’s Glue, or Mod Podge (or any other craft type glue that you can mix with water should work too, I use Elmer’s because it works well and it’s inexpensive)
- Palette or plate for glue mixture
- Large paintbrush around at least ¾” to 2” size
- Wood box or other choice of base item
- OPTIONAL – Leather sheets or fabric for covering inside with if you choose, acrylic paint for painting areas not covering in paper
Step by Step:
This decoupage wood memory box is such a fun project!
Begin by wiping down the wood to be sure it’s clear of any debris so the paper and glue will stick well. If you choose to wet it, or need to, just be sure it’s not overly wet when you start applying the paper.
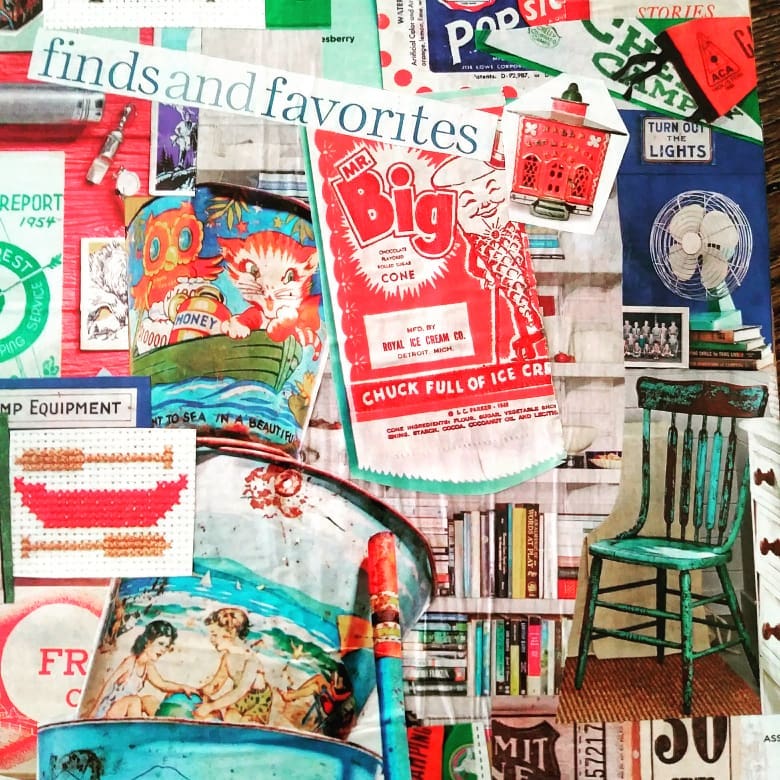
Take out your paper you’ve chosen for the project and sort it out. I usually choose a few larger, more focal items to put down first. Whatever I want to be the focal items are the ones I’m going to play with the most and then work around.
How busy the project gets as far as this goes is more up to you. You can choose a few words and larger items. Then fill in with just plain color and coordinating pattern pieces behind if you don’t want it to be too busy.
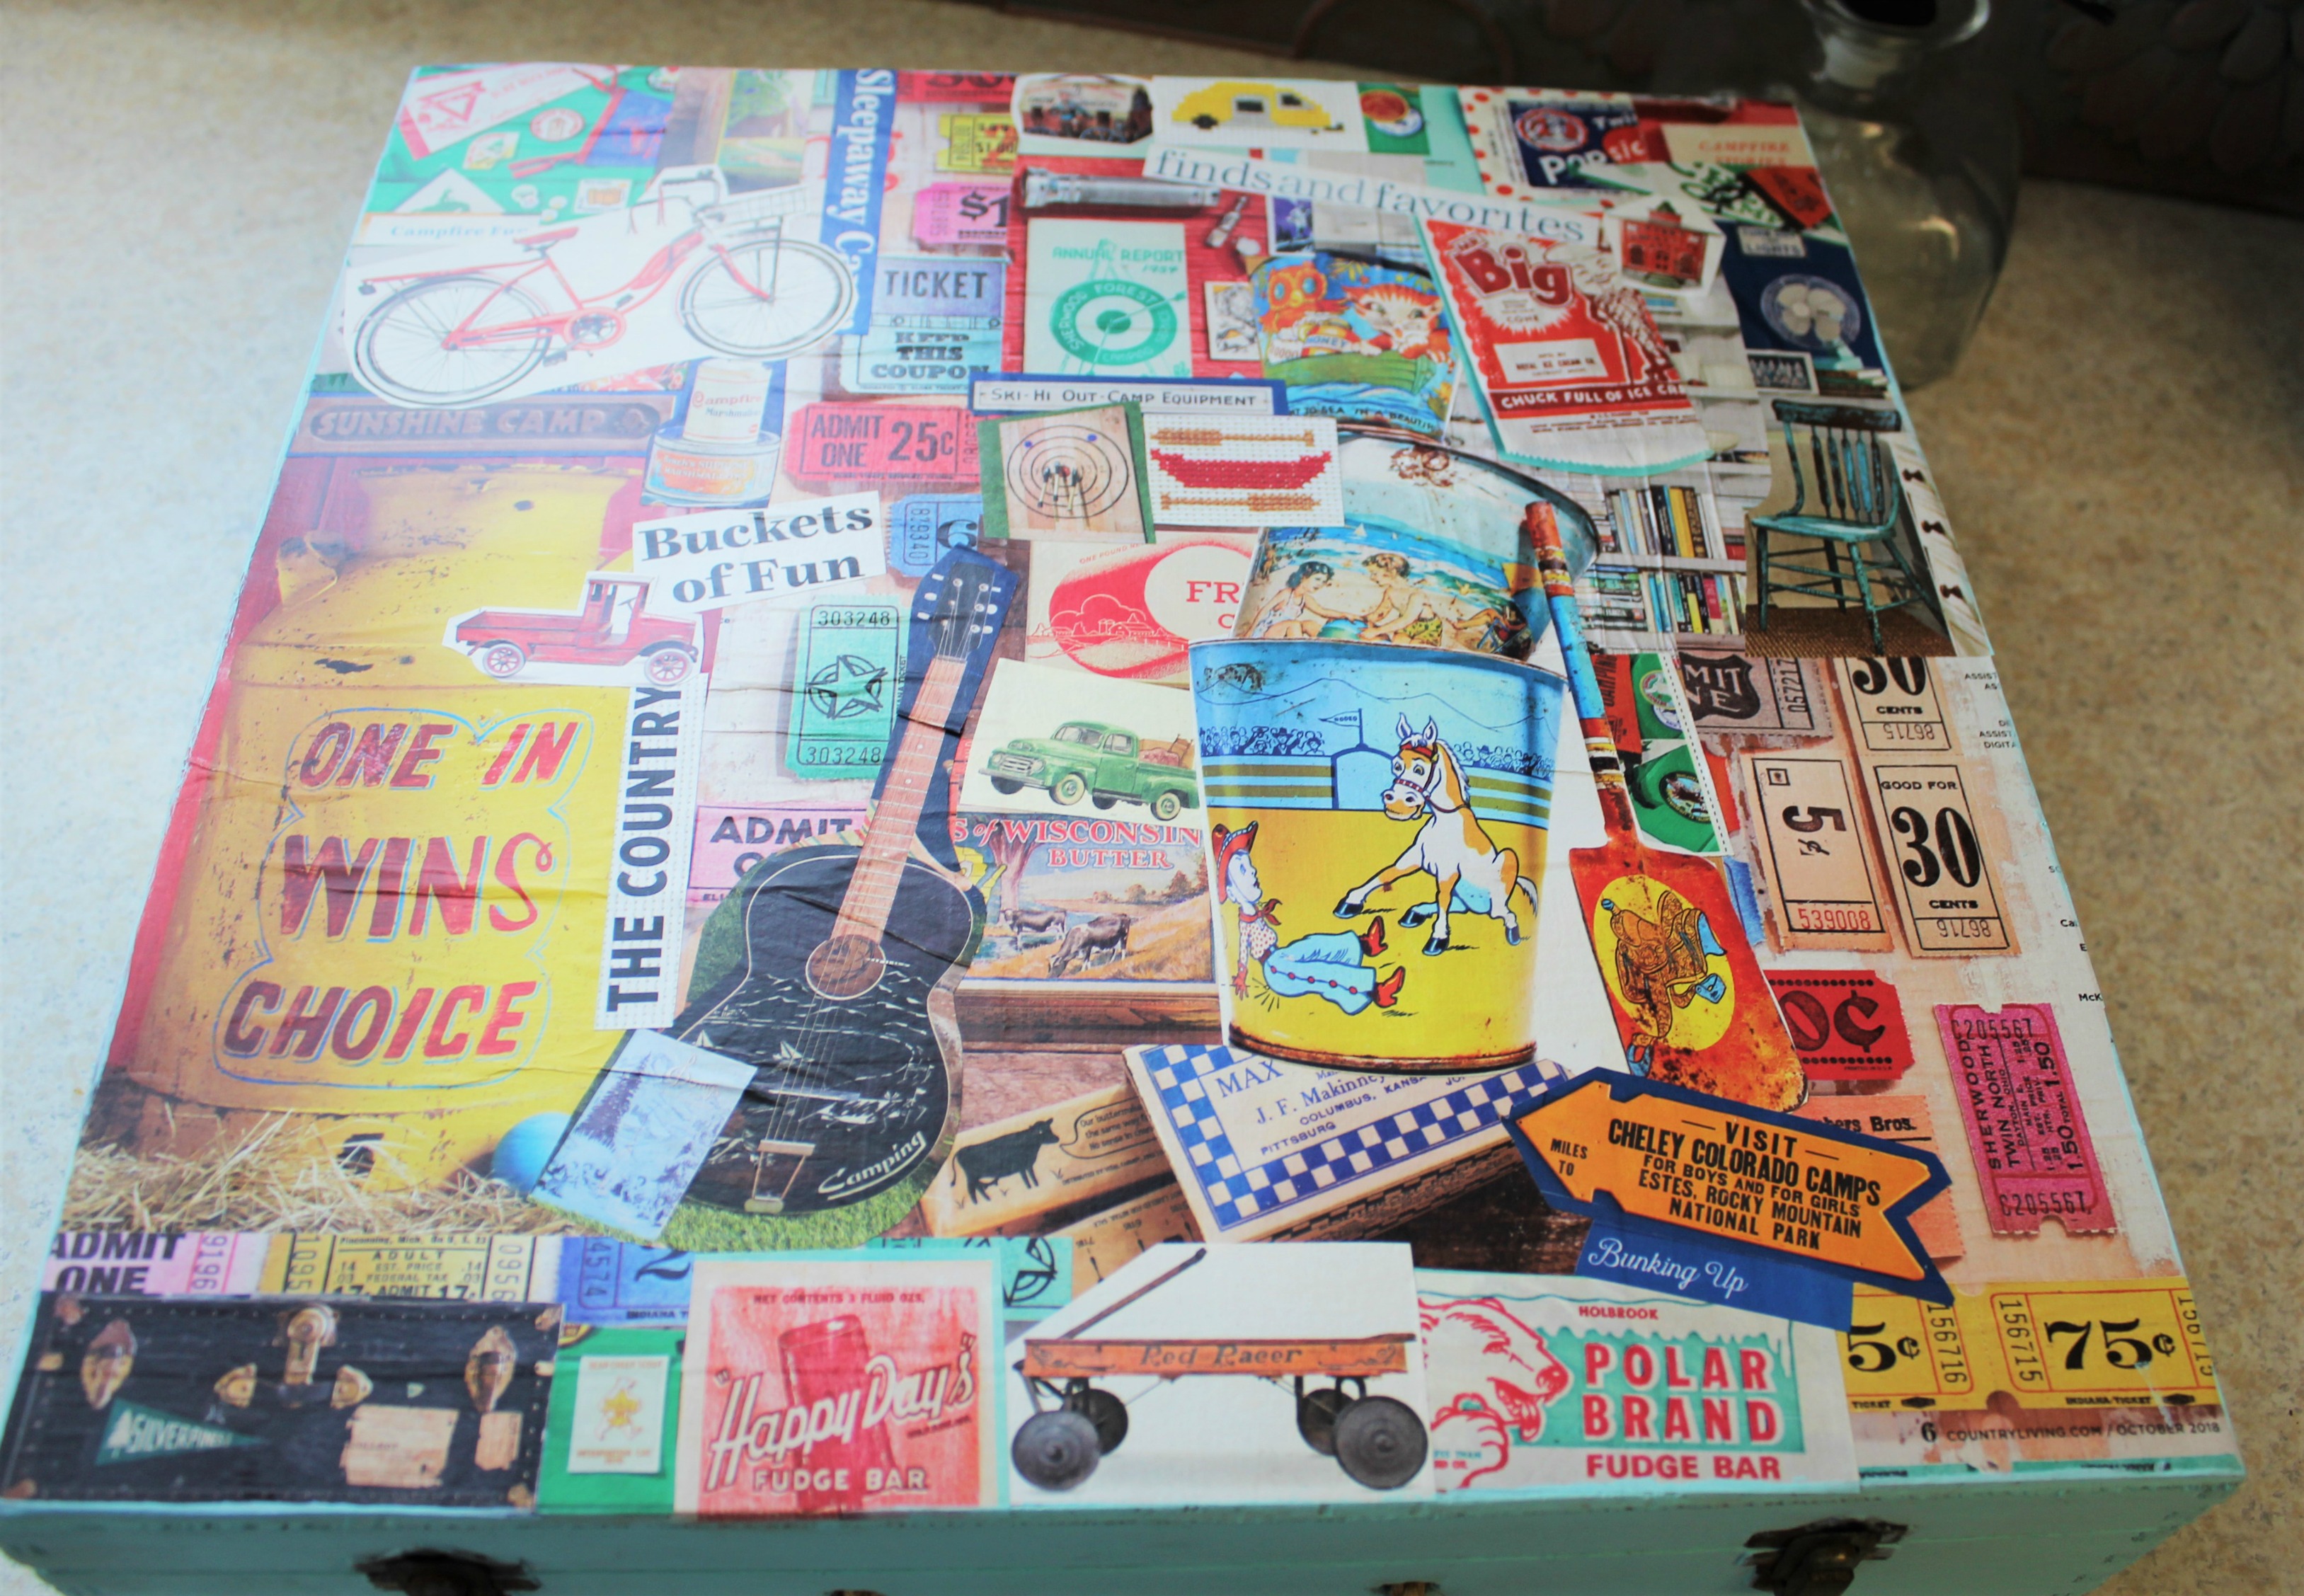
Lay out your artwork
Start by laying out the pieces on the wood like you would a puzzle, moving and piecing them together. Be sure to trim all your pieces nice and neatly. Don’t feel like they have to be perfectly cut or balanced, as some will lay over the others.
My main piece of advice here is not to add any of the glue mixture until you are good with the design. The paper will not come up easily and it will likely tear if you try to move it after gluing.
Using layers of color and pattern behind the pieces you want to stand out works well. Use contracting colors helps to make items “pop”.
I typically lay everything out, then find I have a few little gaps that I still need more paper for. If you find that it feels taxing to you to keep at it step back and take a break. Then come back with fresh eyes before you glue anything down. Sometimes staying right on top of it can get to be too much.
Apply the Glue
Once you feel like you have your paper laid out the way you like, snap a quick pic with your phone.
Otherwise be careful as you go to start at the top corner of your choice and begin with the glue process one piece at a time, making sure that you do the bottom layer first if there are multiple layers.
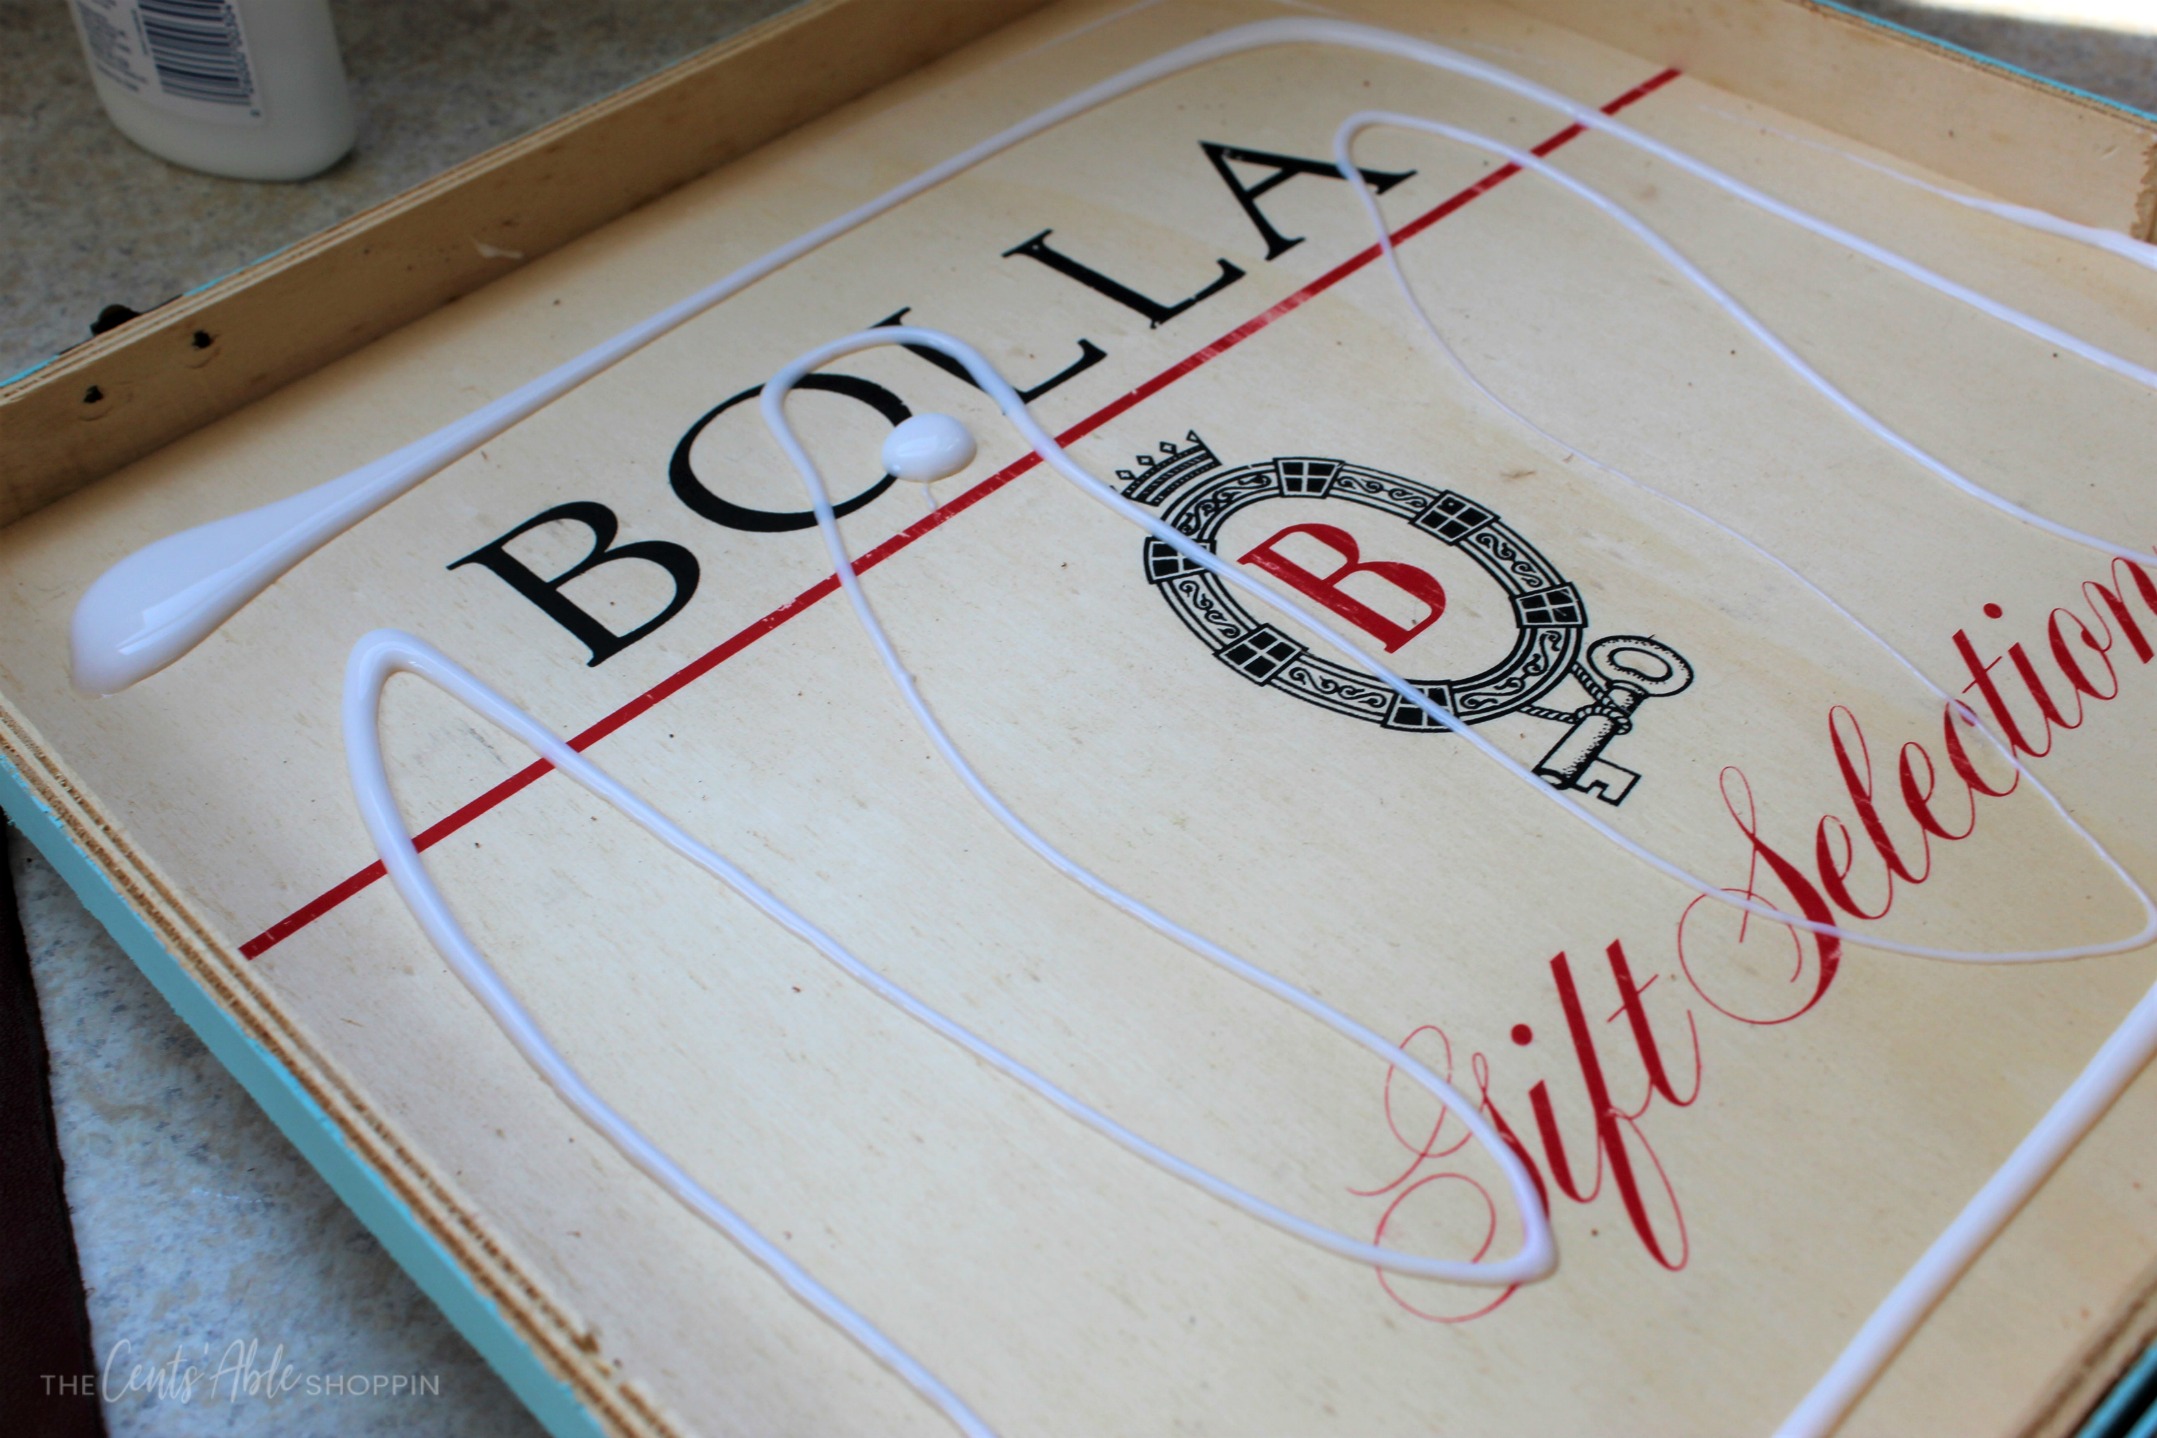
If you are using Mod Podge brand, it is pre-mixed and you use it right from the bottle. If you’re using the Elmer’s or another similar type of glue then pour some glue out on the plate. Then dip your brush in water and mix it with the glue to thin it out a tad.
You don’t need a lot of water, but it loosens and thins the glue to make it easier to spread on.
Make Adjustments as Needed
Dip the brush in the glue mix and spread on the wood first. Try to aim where you are placing the paper. Then lightly set the paper there and slide it carefully if it needs to be moved. From there, paint more glue mix over the top of it as well. Smooth it out with the brush as you go to try to keep too many folds or wrinkles from happening.
This is inevitable, and it doesn’t look bad to have some. You jus don’t want a ton of them.
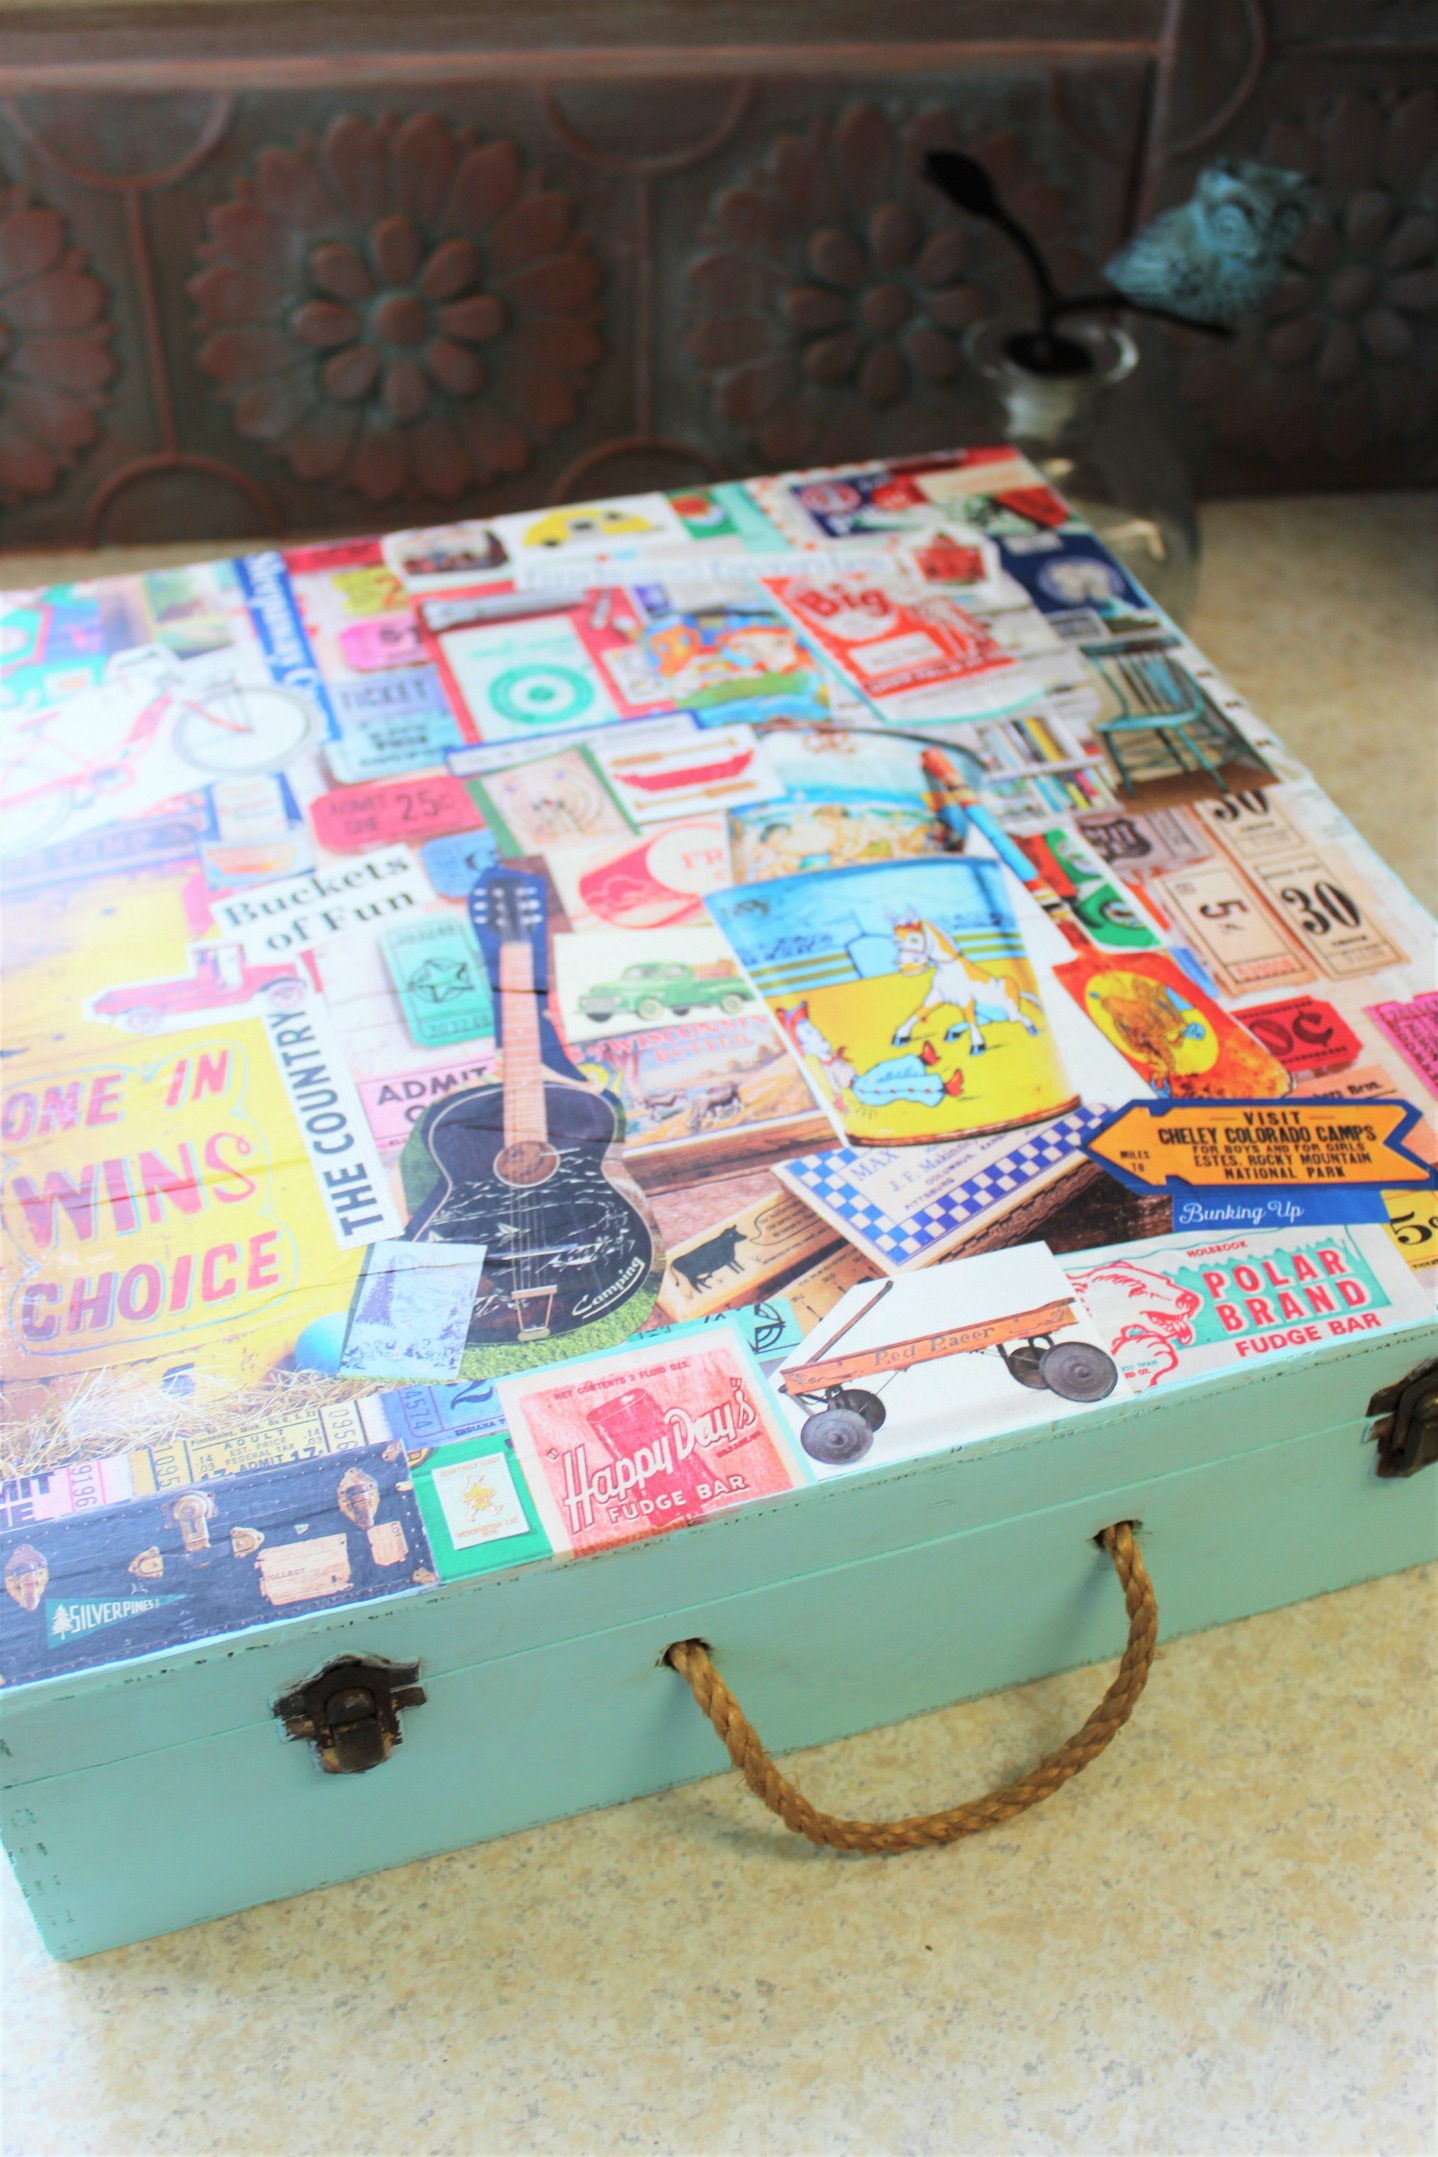
Now just keep going, repeating the glue on bottom and top on each piece of new paper you add . Eventually you will have the entire object covered.
Allow it to Dry
Let it dry for a good few hours, and then go back and feel all over to see if anything is loose. If so, add a little more glue mix. Be sure to get the edges also so no paper is popping up.
Once you are done with the paper art, you can paint or cover with leather next.
Paint then Line the Inside
I use inexpensive acrylic paint in a matte finish, and it works great on the wood. It usually takes 2 coats to look nice and solid. Use a smaller brush to go around any tight spots like under handles first. Then fill in with a larger brush for the rest of the surface.
Painted all the way around the box and on the inside lip. Leave the bottom of the memory box as-is. If you get paint on the metal latches, allow the paint to dry then scrape it off with your fingernail once it’s dry.
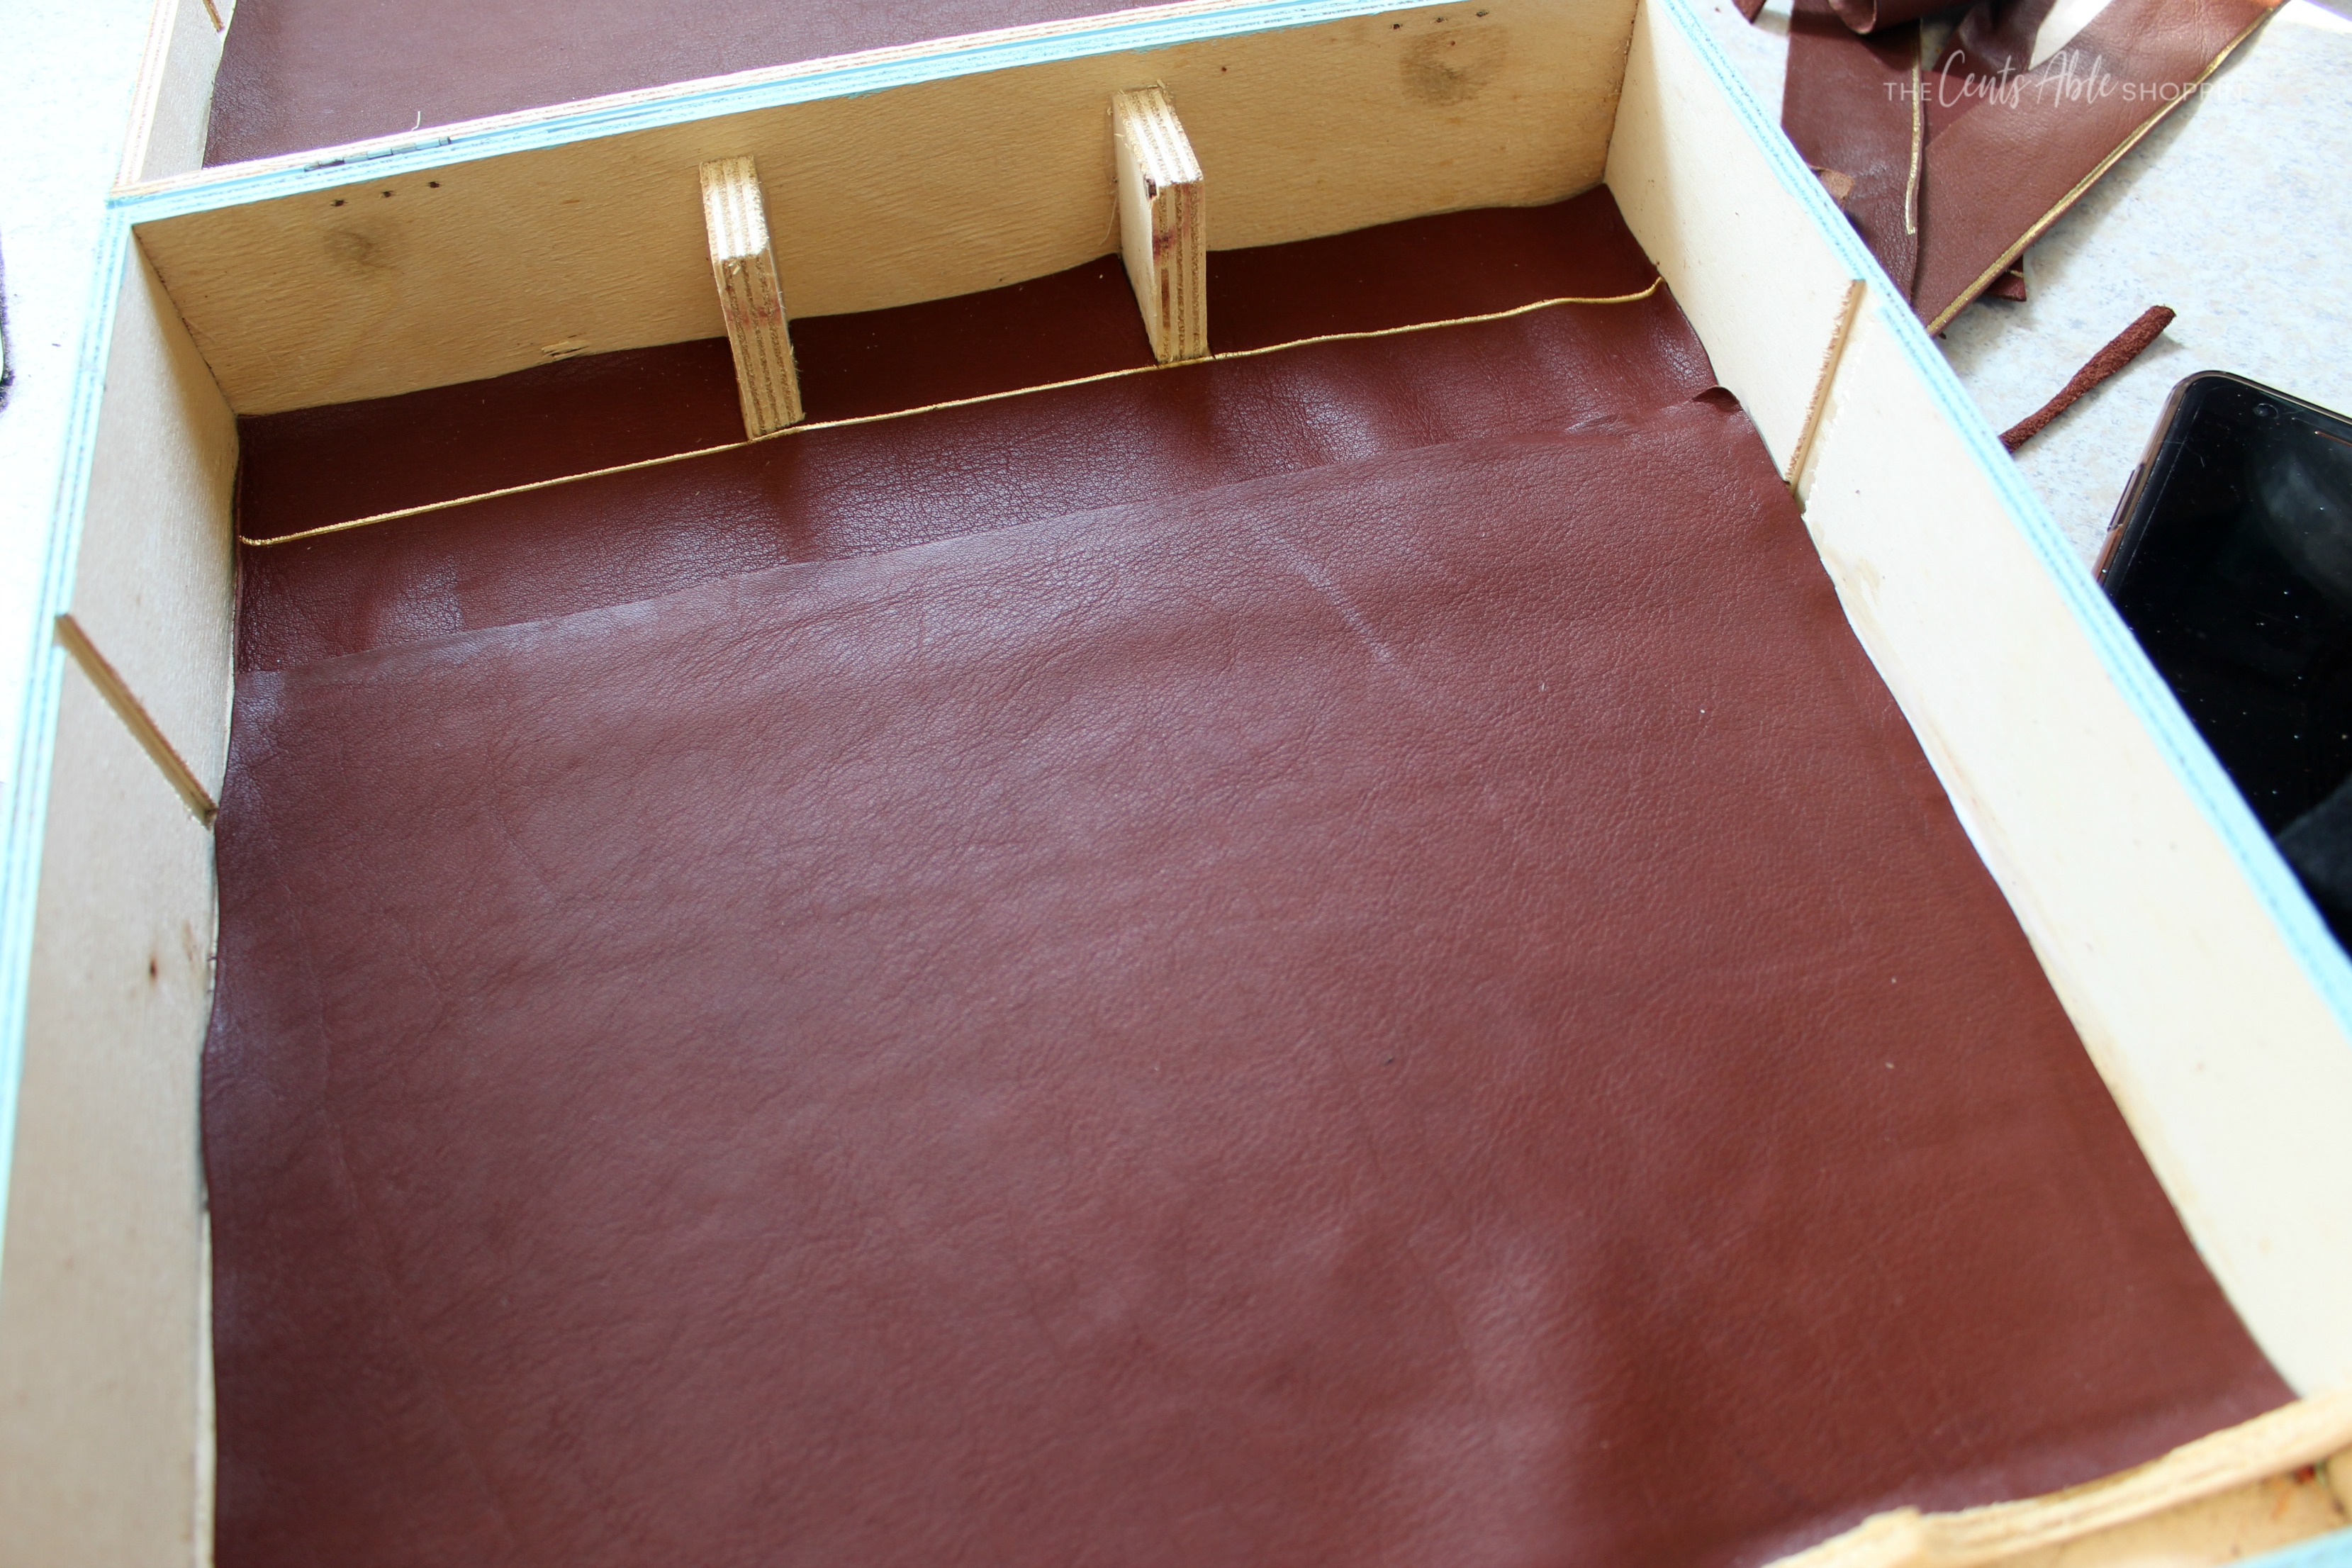
The inside of my box was messy and had some markings in it, so I chose to cover it with a thin leather covering. I did this by laying the leather down, pressing it on well to fit it. Then I scored it before cutting it to fit.
Before the leather was laid down, I applied glue to the inner bottom of the box.
I used the same glue (minus the water) to attach it and let it dry for several hours.
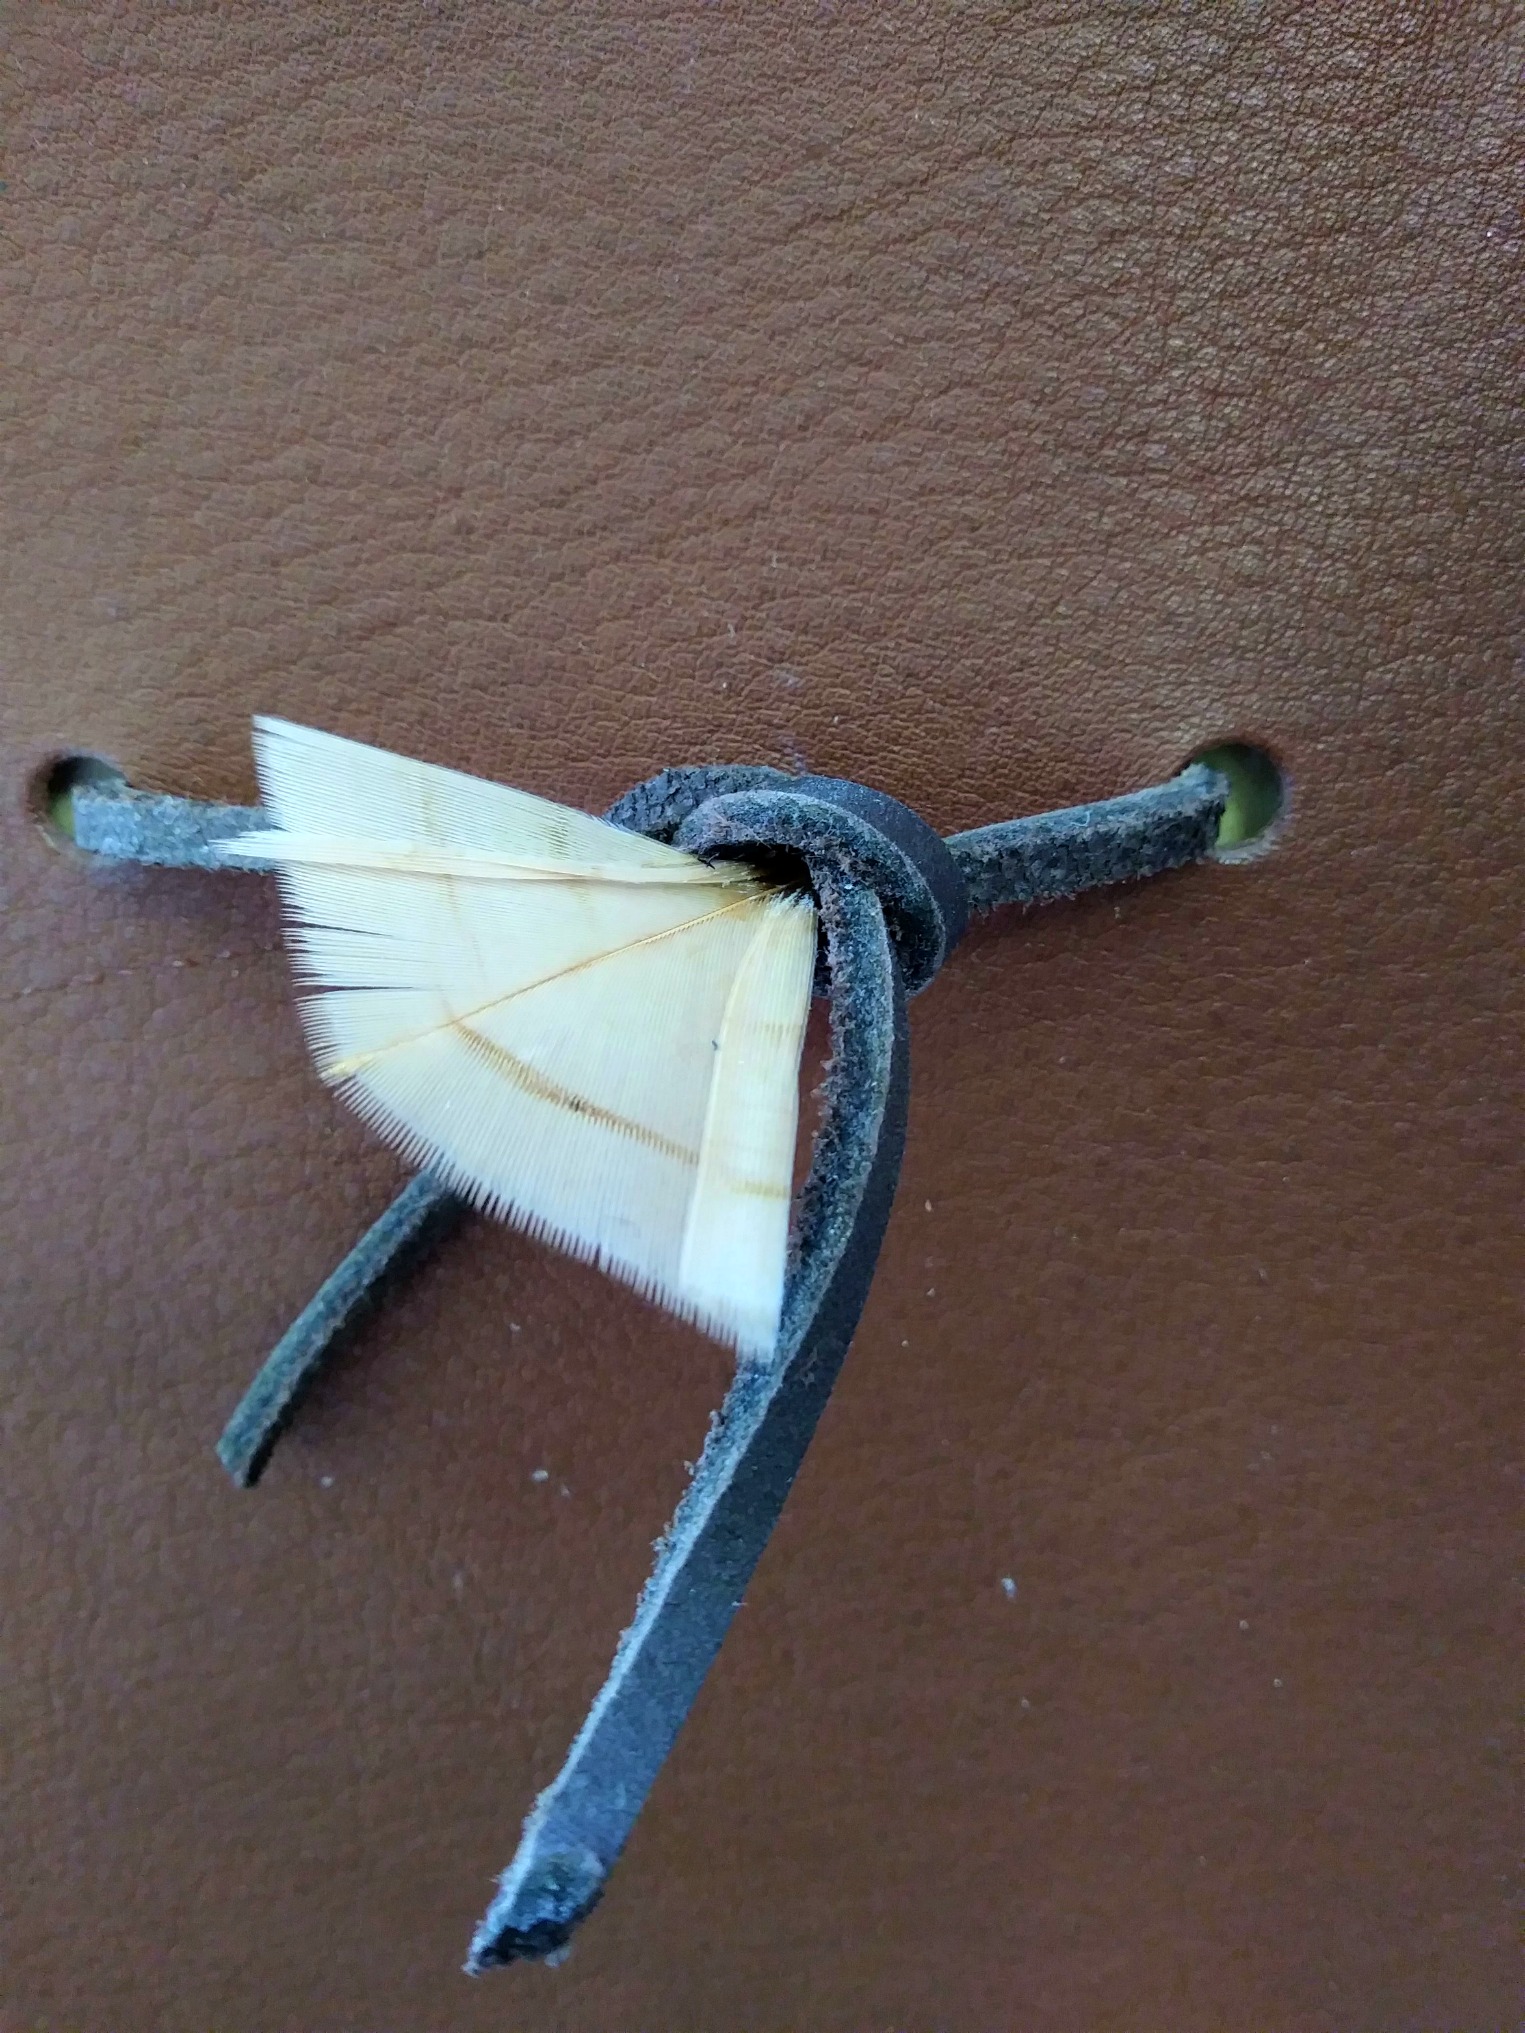
The feather I added as a tribute to the original owner. He had several feather pieces in this box along with his craft supplies. This one was in good shape and I wanted to tie it in to the theme.
I tied a leather strip behind the sheet and knotted it well, then attached the feather in the center with glue.
Overall, this decoupage wood memory box looks one hundred times better than it did when I started. I love all the colors and life I was able to give it!